
6 Tips for Adding Wax Seals to your Wedding Invitations
I’m so excited to share this tutorial on helpful tips and troubleshooting for using wax seals in collaboration with Uniqooo, a wax seal and wax stamp specialty company. I use Uniqooo products often for my wedding and design clients. The variety of wax shades and elegant stamp designs are the best in the industry. All opinions are my own.
PSST! Pin this image for later!
It’s almost time to mail out your invitations and invite your guests to your wedding. YES! If you’ve opted to use wax seals to add another layer of personalization. That’s great!
I LOVE incorporating wax seals into my designs. I quickly realized that there was more to wax seals than just melt and stamp! If you need help on how to use wax seals, read this blog post. Otherwise, keep reading for top wax seal tips and troubleshooting. Good luck!
Disclaimer: As an Amazon Associate I earn from qualifying purchases. This blog post contains affiliate links. I may earn a small commission to fund my calligraphy and caffeine habits if you use these links to make a purchase. You will not be charged extra, and you’ll keep me supplied in ink and caffeine. It’s a win for everyone, really.
Address Your Envelopes!
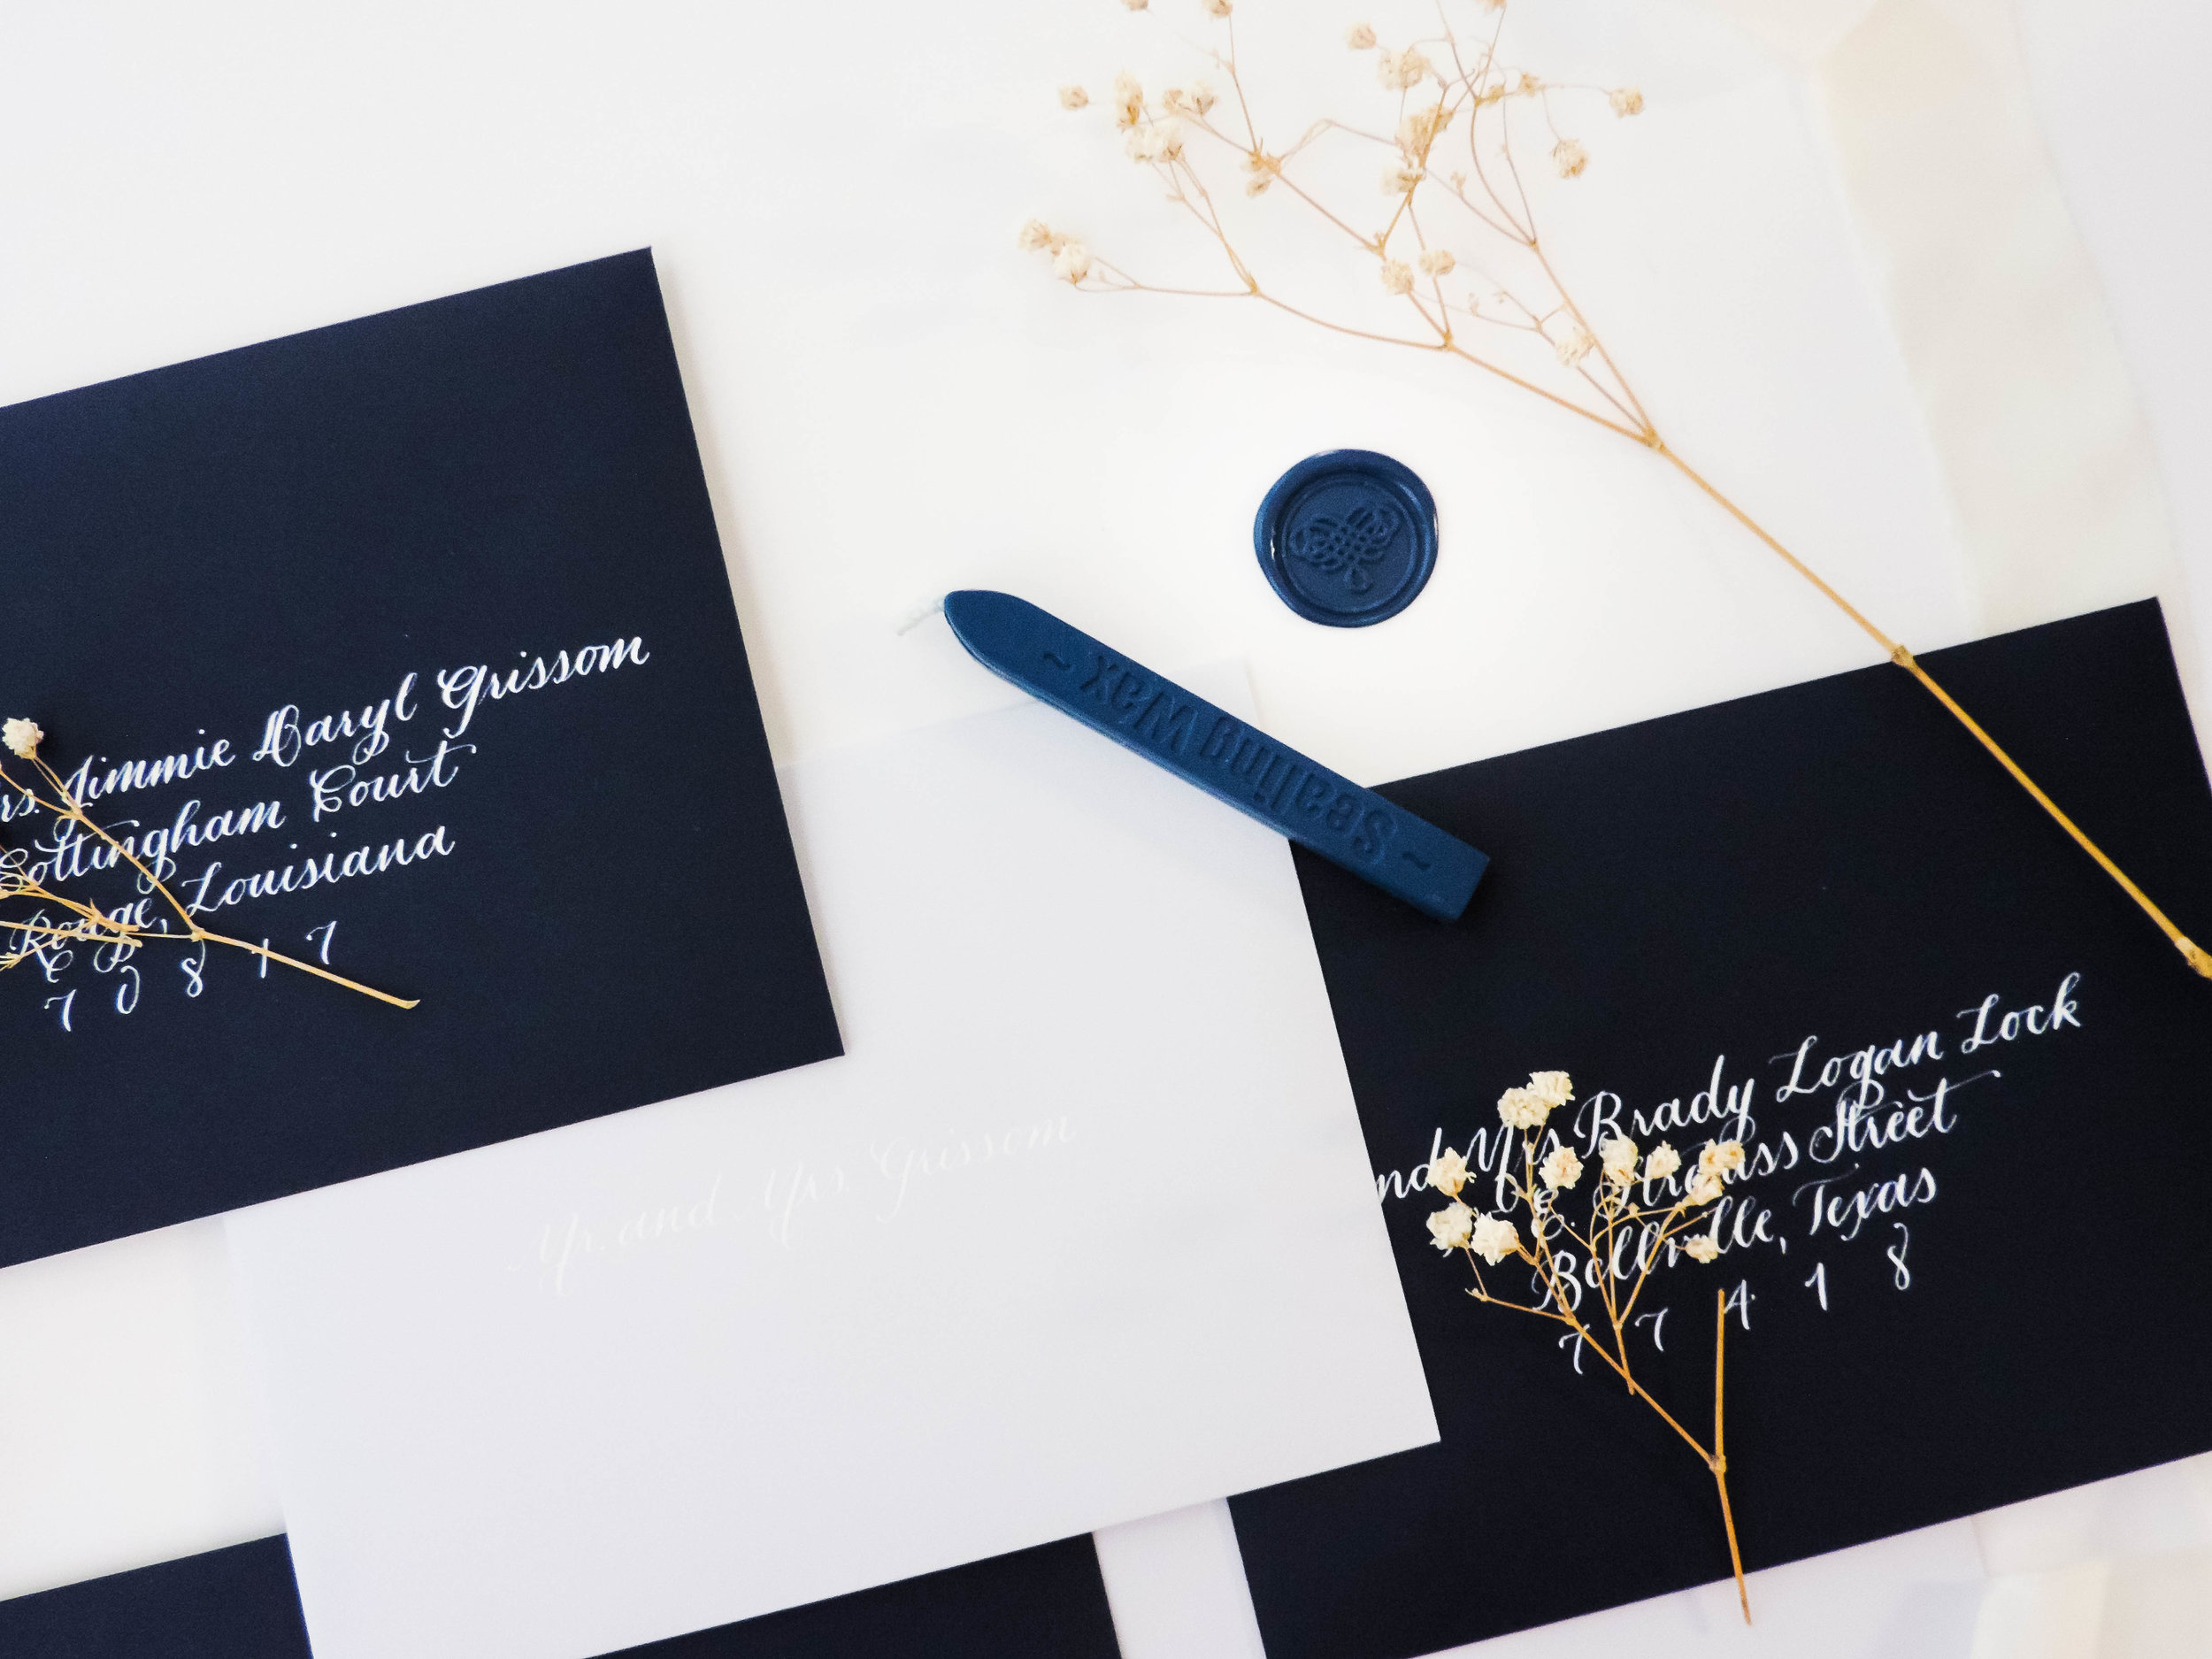
Before you get started, be sure to address and add postage to your envelopes. This may sound obvious, but for that one bride out there under the wire trying to get a jump on assembling all the invitations with the intent of attending to the envelope after - don’t. It becomes much more difficult to write on envelopes that are stuffed. (If your color palette includes blue hues, you might like these wax seal sticks!)

Assemble Everything Before Melting Wax
Pre-assemble if you’re using the glue gun method. The wax heats quickly and is ready for the next seal within seconds. Even with this trigger glue gun, wax will drip out a bit if left too long between seals. Having everything ready to go will make quick work of adding your seals. So stuff and seal all your envelopes and lay them out, back flap up, several at a time.
If you ordered wax beads (like these champagne gold ones) then you will have a bit of down time between each seal. Before I started using the glue gun wax for wedding suites, I would use the wax beads and assemble each suite while the wax melted. If you’re up against a deadline or have limited space, assembling ahead of time and using the glue gun wax will be a life saver.
Troubleshooting - Wax Sticking to Seal
You’ve picked out your wax seal and the perfect shade of wax to match your invitations. BUT for some reason, the wax seal won’t release from the wax no matter how long you leave it. Ugh! Not to worry. A few things could be happening here. The wax needs to cool before you try pulling off the stamp. If you’ve patiently waited and it’s still getting stuck every time, you can use a little (VERY little) grape seed oil. Using a cotton swab slightly dipped in grape seed oil, dab the stamp. Now it should be rather easy to remove the next stamp from the cooled wax. Remember, oil can stain fabrics and paper so carefully wipe off any excess oil left on the finished wax seal. A clean, dry cotton swab will do the trick. Hopefully you won’t need to do this for each envelope but it can be super handy if all of your seals are putting up a fight.

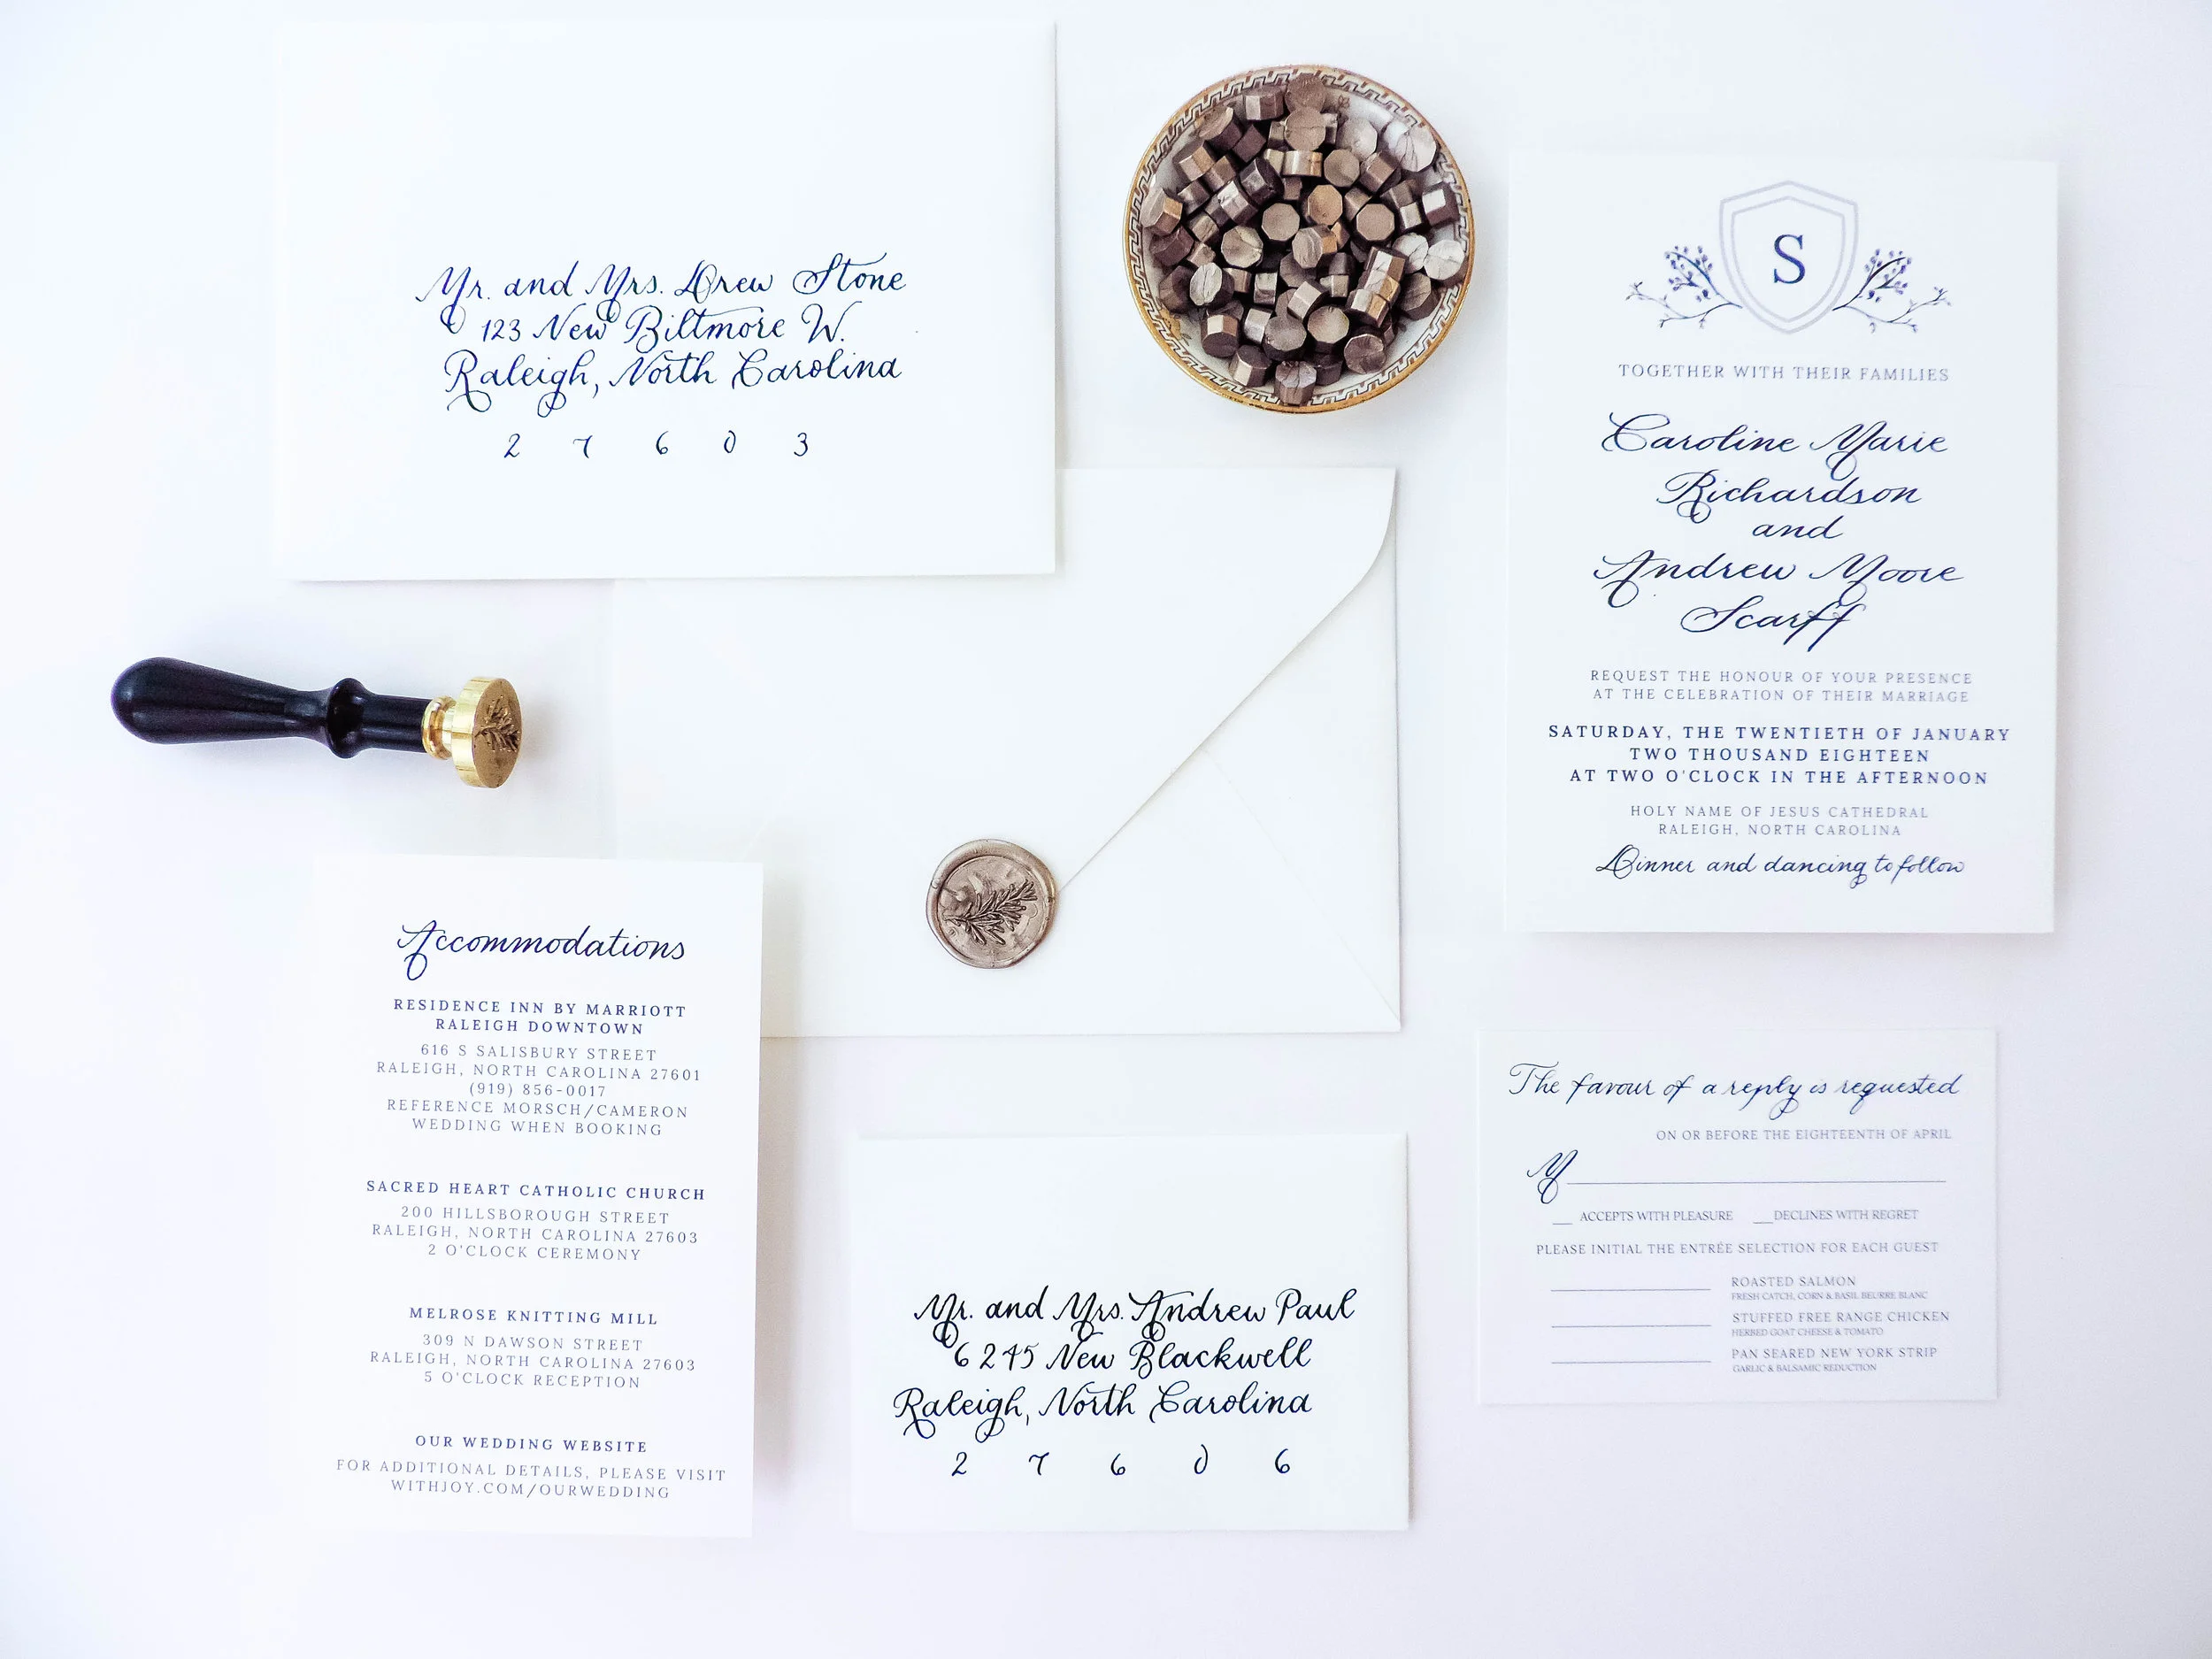
Pictured: White Wax Sealing Sticks and Botanical Wax Seal Stamp by Uniqooo
Adding Extra Embellishments to the Wax
Wax seals are stunning on their own or with little something in the wax like a flower or a sprig of greenery. If you opt to add in a plant, place it on the paper and pour the wax directly over it. I recommend using dried plants like lavender, rosemary or babies breathe. All are easily dried and look gorgeous in the wax. Live plants wilt so if you have your heart set on a certain flower, it’s always a good idea to mail a sample to yourself to see how if the flower survived on the other side.
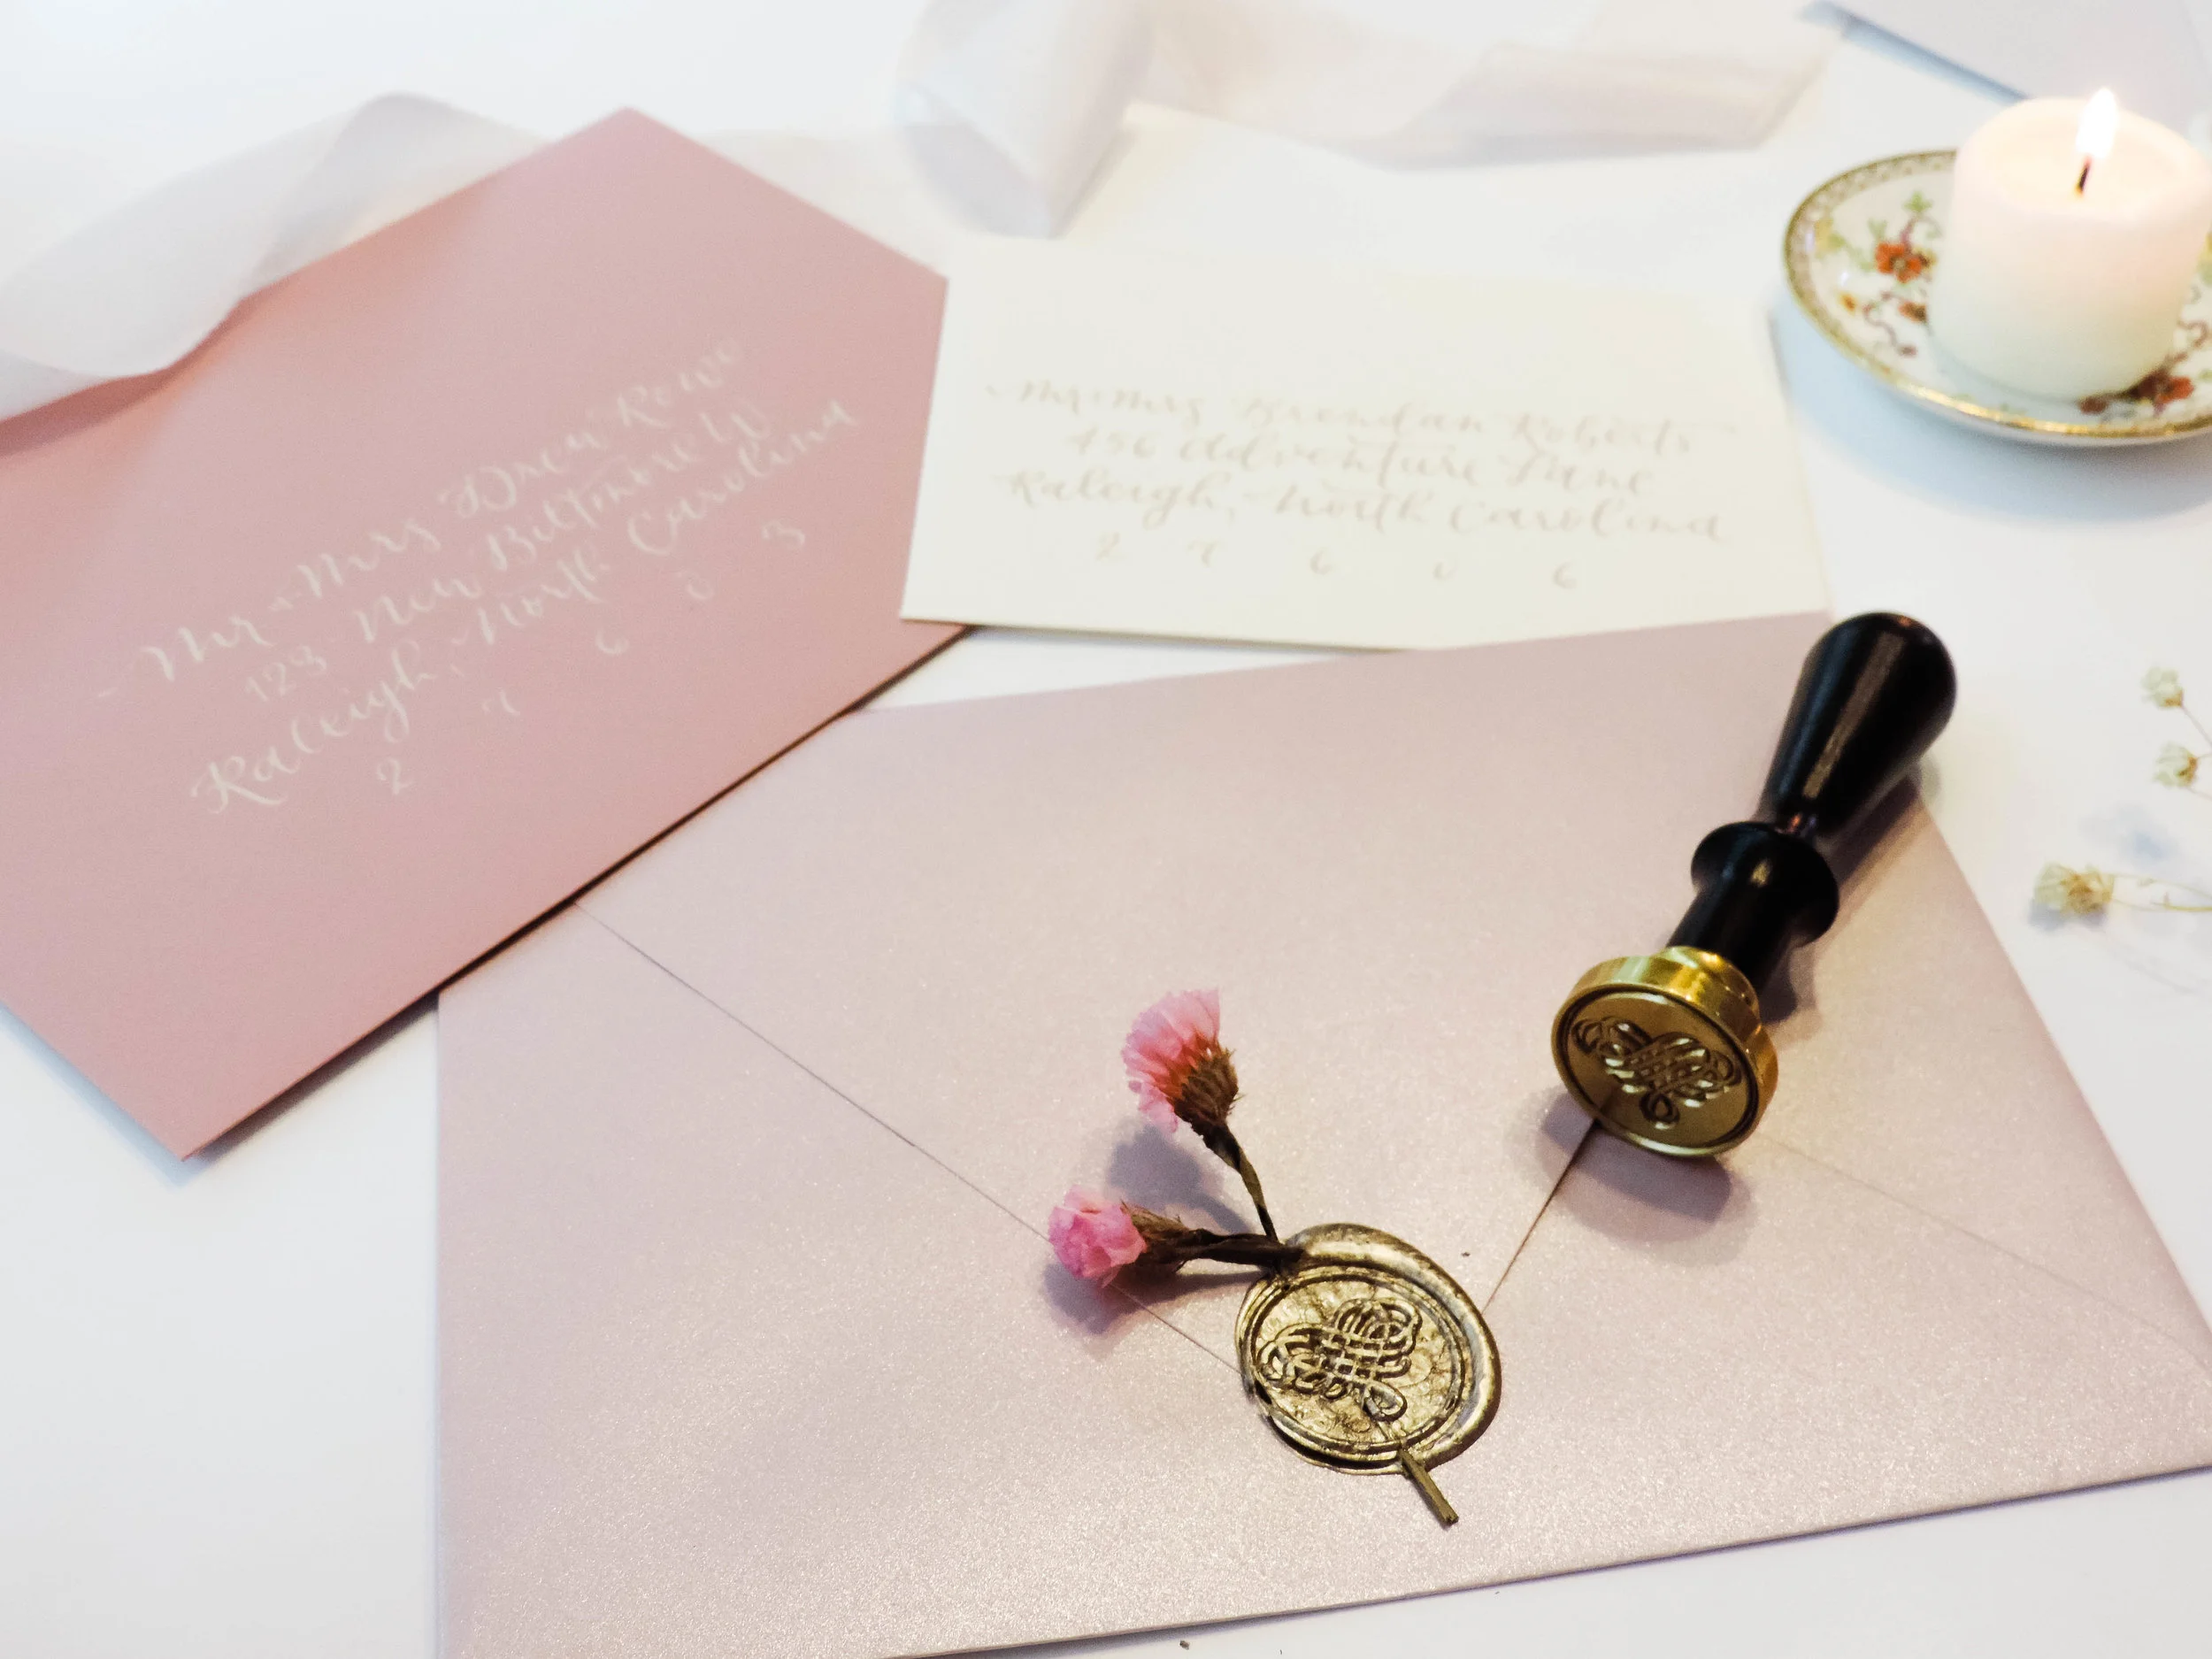
Pictured: Champagne Gold Wax and Heart Seal Stamp by Uniqooo
Troubleshooting - Wax Blackened
So you’re using wicked wax sticks and notice the soot left behind in the wax, ruining your gorgeous color. You likely have the wax stick inverted too far. Ideally, you don’t want your wax stick so far upside down that the flame is under the wax stick. The tip of your wax stick should be somewhere between upright and horizontal.
If you’re using wax beads and noticing soot in the wax seal then your melting spoon might be too close to the flame.

Additional Postage
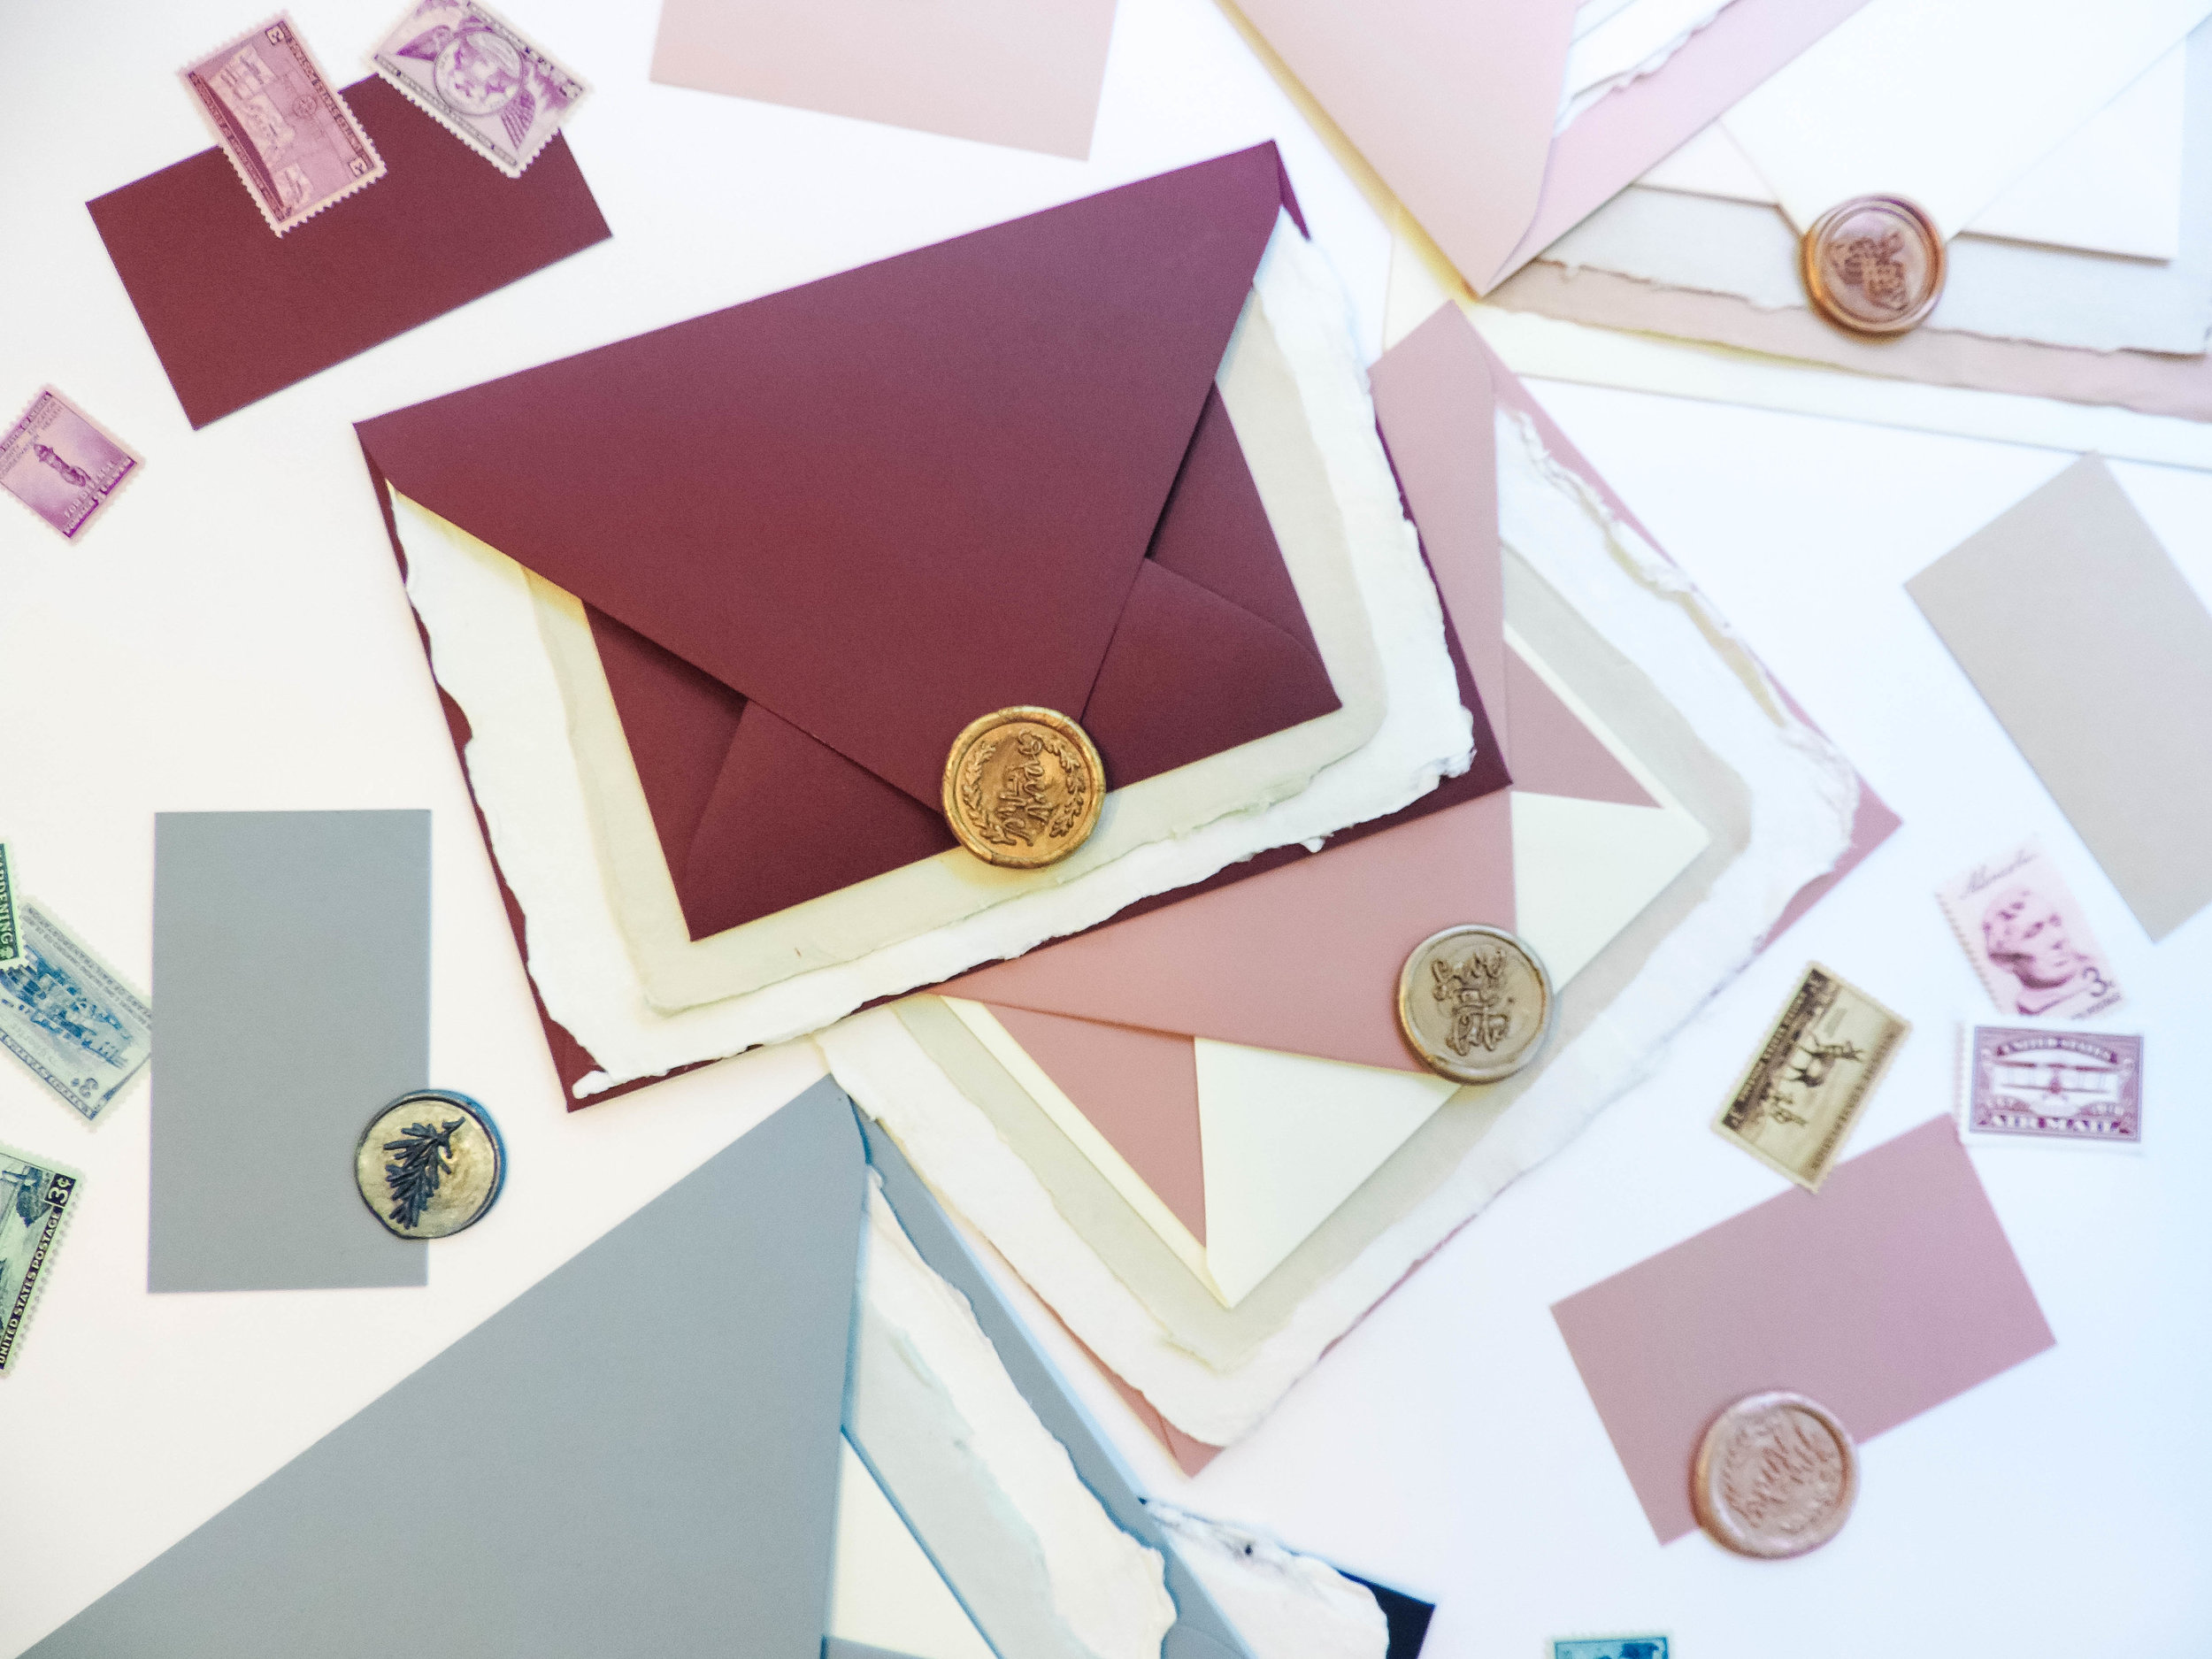
You’ll want to use extra postage for two reasons: 1.) the wax will add a little extra weight to a likely already full envelope and 2.) if you want to have your suite skip the postal machines they’ll require additional postage. When I’m working on a wedding suite, I always take a finished suite (ribbons, wax seal and all) to the Post Office to have it weighed. Once your suite is ready to be mailed, request the postal worker to Hand Cancel your suite. This will allow your envelopes to skip the machines but in order to skip the machines on the receiving end, you’ll need extra postage. Most wedding invitations I mail (domestically) get at least $0.70 in postage. (Pictured: blue-green shades of wax)
Still stuck or have a question about something I didn’t cover? Feel free to get in touch or leave a message in the comments!