
How to Write on a Pumpkin + DIY Thankful Pumpkin Tutorial
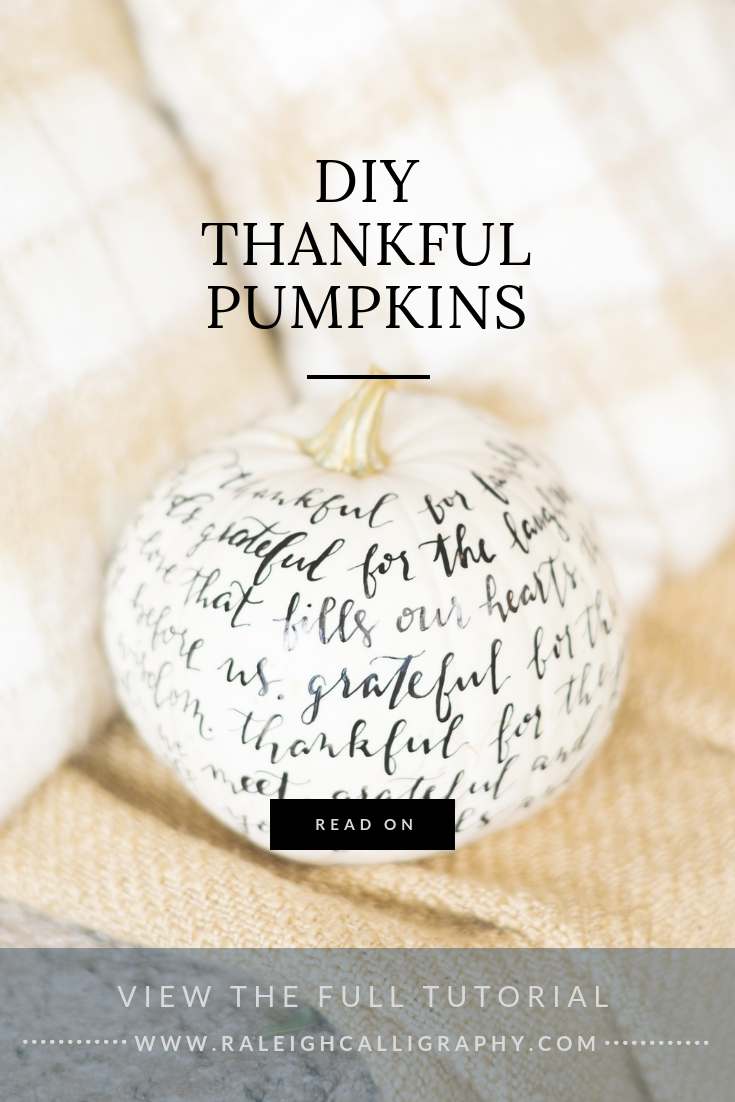
Image Credit: Kelsey Nelson Photography
Psst! Pin this NOW and save for later!
It's official. It’s finally Fall and I'm oh so happy about it. I love the crisper air and the colorful leaves and ALL of the festivities. Hay rides, candy apples, crackling fires and a break from this southern heat!
Each year we visit a pumpkin patch and it’s one of my favorite things to do in the fall. We carve some of our pumpkin haul into jack-o-lanterns and paint others with bats and spooky words. Using paints and markers are a fun kid-friendly way to include even our littlest in the pumpkin decorating. But we set aside at least one which will turn into our Thankful Pumpkin.
We’re trying to teach our munchkins about gratitude. The concept of being kind regardless of what you have, and being thankful regardless of what others have can be a tricky one for kids to grasp. So we make it a point to write out what we’re thankful for this time of year.
I love the idea of a gratitude box where everyone writes what they’re thankful for and drops it in all season long. But I think it’s also really special to be able to see what you’re thankful for as an encouraging reminder to be kind to yourself and others.
Ready to create your thankful pumpkin? Keep reading for the step by step instructions!
Disclaimer: As an Amazon Associate I earn from qualifying purchases. This blog post contains affiliate links. I may earn a small commission to fund my calligraphy and caffeine habits if you use these links to make a purchase. You will not be charged extra, and you’ll keep me supplied in ink and caffeine. It’s a win for everyone, really.
Here's what you'll need:
White Pumpkin
Oil-Based Sharpie Paint Marker (regular markers will wipe off)
Gold Ink and brush for painting the stem (optional)
Painter’s Tape
Paper towels, newsprint or rags

Step by Step…
Step 1. Wash and dry your pumpkin to remove any dirt.
Step 2. Practice writing out what you are thankful for on a piece of scrap paper.
Step 3. Paint the stem the gold with a small brush
Step 4. Wrap a strip of blue painter’s tape around the pumpkin towards the top to create a line to write on. The tape line should slightly slanted so it creates more of a spiral than a closed circle.
Step 5. As you finish writing each line, move the tape down to create a new writing guide line. Continue writing all of the things you’re grateful for.
Step 6. Allow to dry 1 hour. Avoid the urge to touch this pretty pumpkin until it’s fully dry as you risk smudging all your hard work.
(keep scrolling to read what I’ve written on my pumpkin!)
Image Credit: Kelsey Nelson Photography

What’s on mine…
In case you’re curious, here’s what I wrote on my pumpkin:
Thankful for family, good food and great friends. Grateful for the laughter that fills this home and the love that fills our hearts. Thankful for this life and the bounty before us. Grateful for the lessons and experiences that lead to wisdom. Thankful for the journey and all the paths we cross and people we meet. Grateful and humbled to be guided by faith. Blessed to call you friends and loved ones.
Image Credit: Kelsey Nelson Photography

A life planner like no other…
The Helm Planner helps you worry less and find more joy. Because you deserve to be happy. End of story.