
How to Use Wax Seals
I’m so excited to share this tutorial on how to use wax seals in collaboration with Uniqooo, a wax seal and wax stamp specialty company. I use Uniqooo products often for my wedding and design clients. The variety of wax shades and elegant stamp designs are the best in the industry. All opinions are my own.
PSST! Pin this image for later!
Wax seals have been around for centuries. Historically they were used to add a layer of authenticity to a document or prevent tampering with an envelope. These days, wax seals aren’t exactly used the same way but that doesn’t mean they’re a thing of the past! In fact, wax seals are trending especially for weddings.
If you’re looking to add wax seals to your wedding envelopes but you’re just not sure where to start, you’ve come to the right place! Now most stationers and calligraphers will be able to add wax seals for you, but that doesn’t mean you can’t do them yourself. Here I’ll walk you through the different ways to make wax seals. Enjoy!
Disclaimer: As an Amazon Associate I earn from qualifying purchases. This blog post contains affiliate links. I may earn a small commission to fund my calligraphy and caffeine habits if you use these links to make a purchase. You will not be charged extra, and you’ll keep me supplied in ink and caffeine. It’s a win for everyone, really.
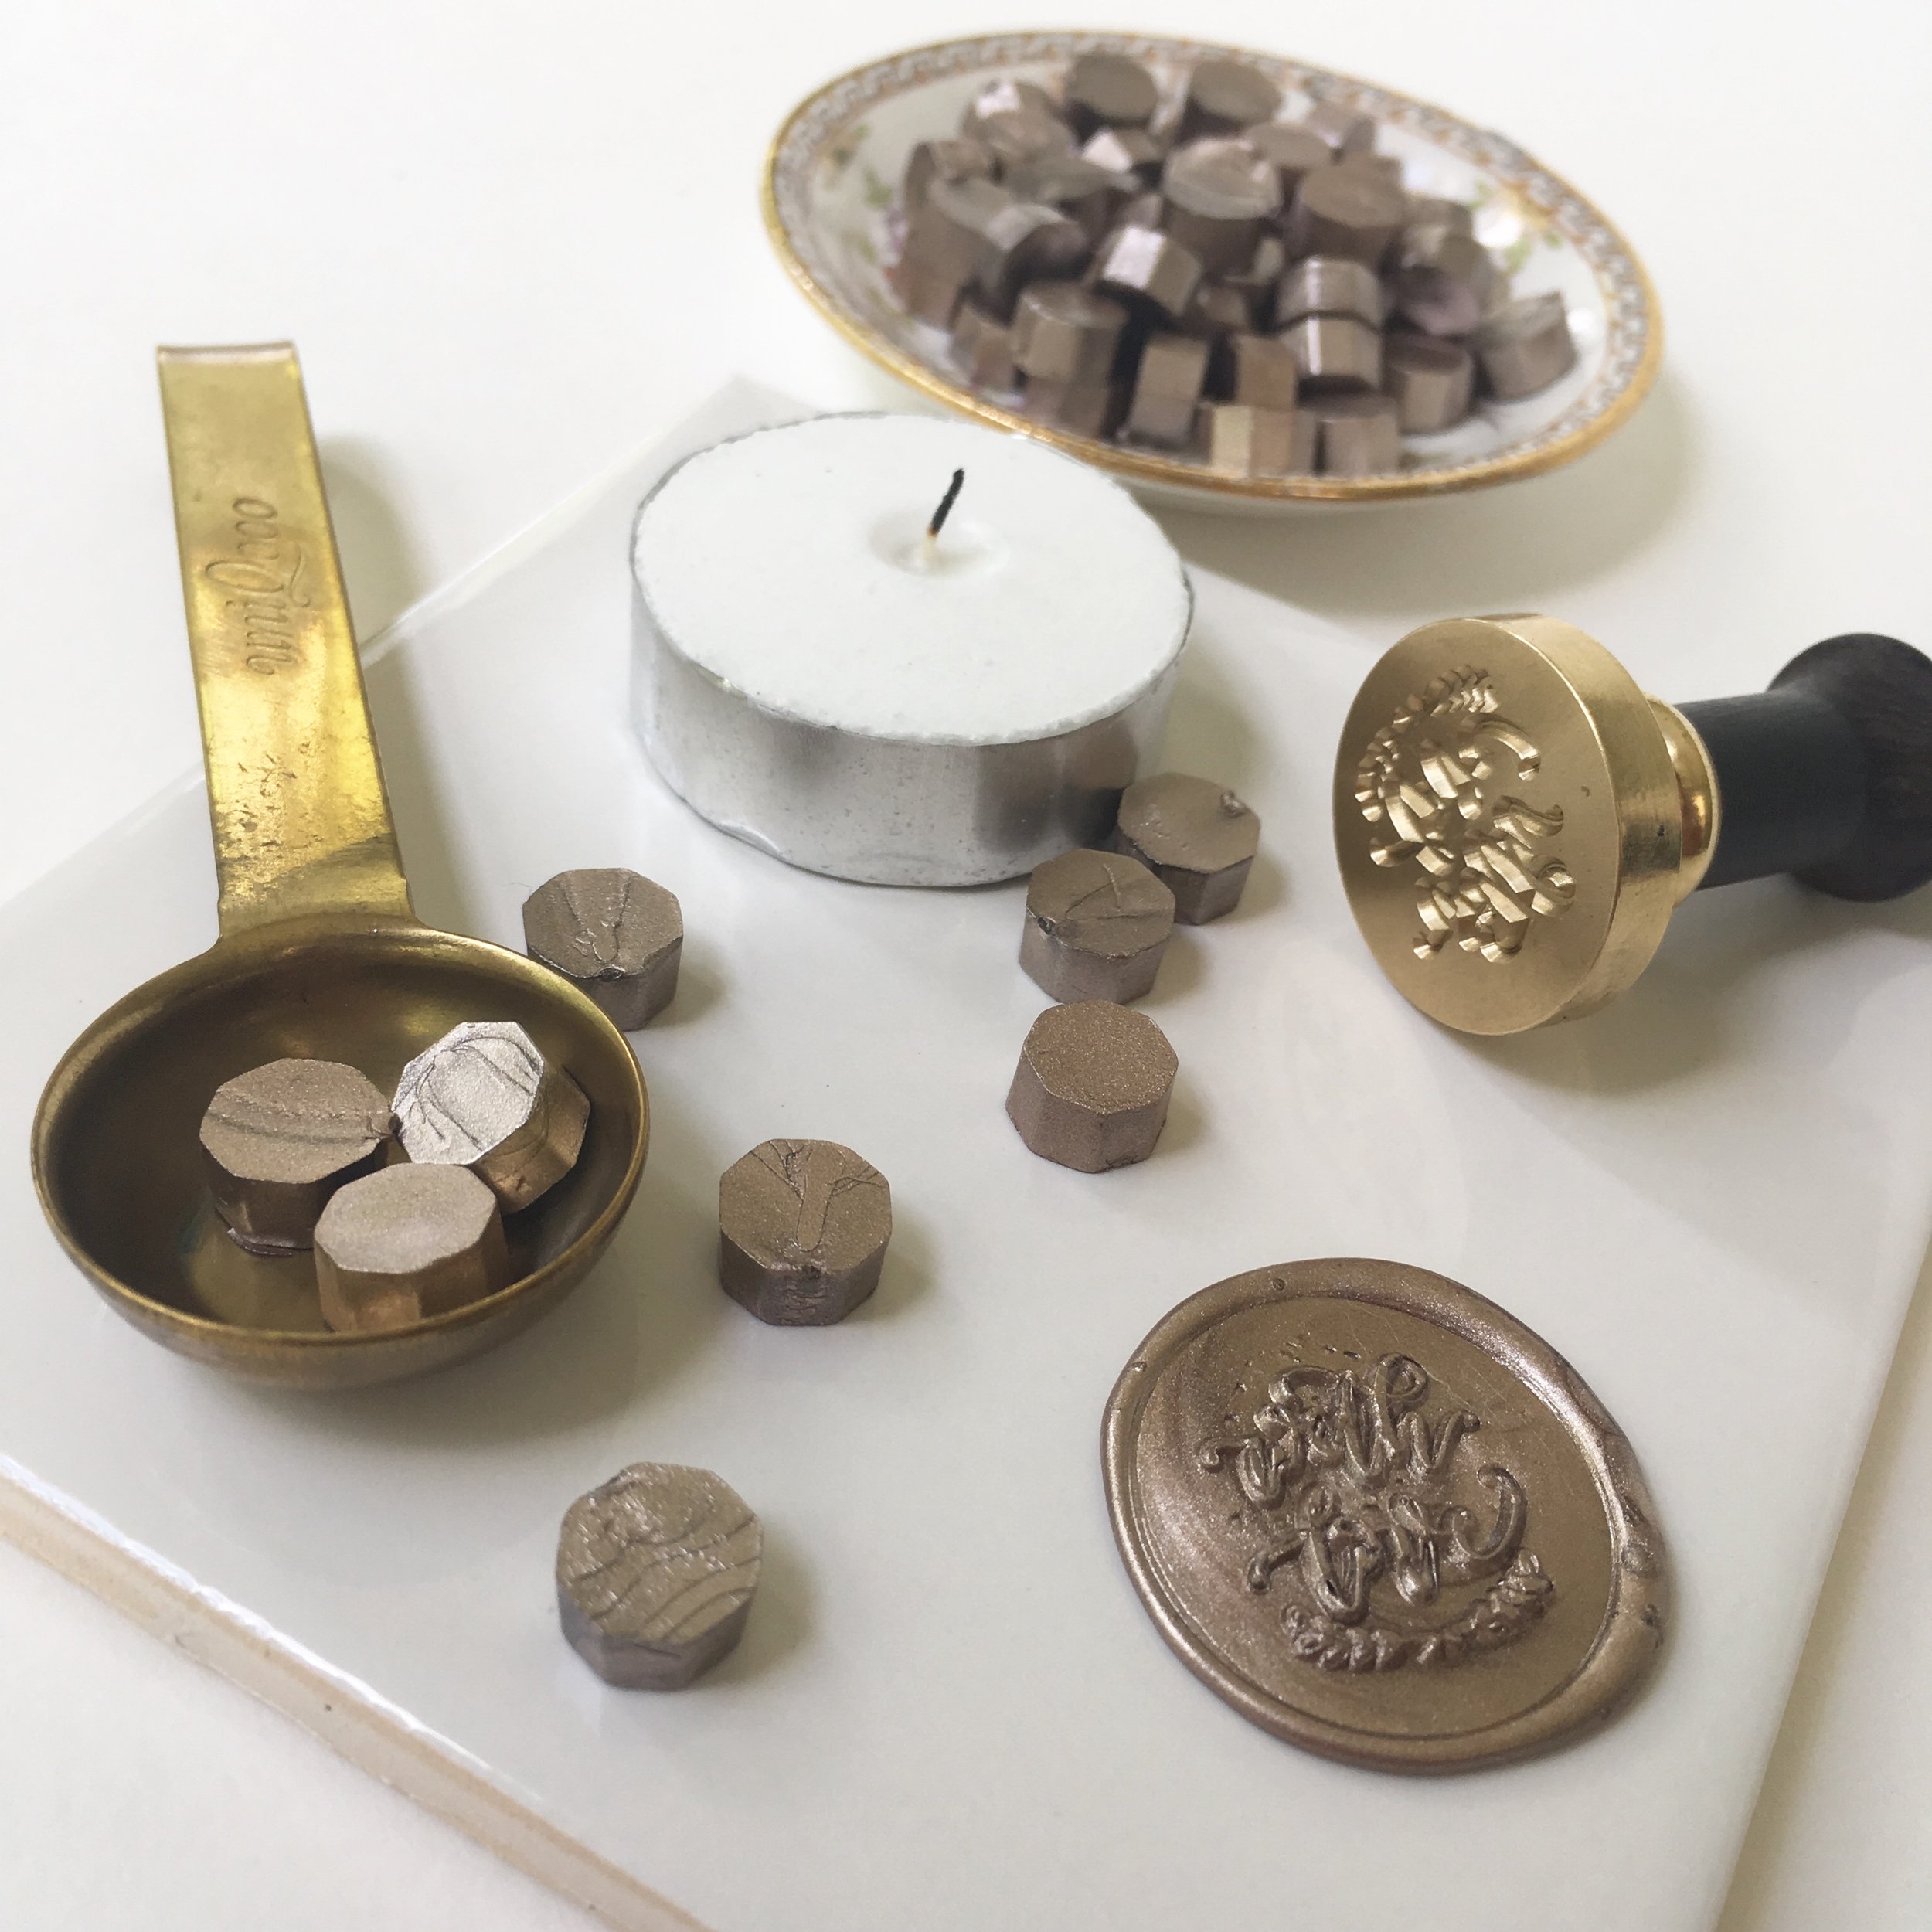
Pictured: Champagne Gold Wax Beads by Uniqooo, Rose Gold Melting Spoon by Uniqooo, and With Love Wax Seal Stamp by Uniqooo
Wax Seal Beads
Wax Seal Beads are my absolute favorite way to make wax seals. Why? Because they’re just a bit more effortless and romantic. And since the wax takes a bit to melt between seals, it gives me enough time to set up the next flat lay or clip a sprig of rosemary. Not to mention wax beads are ideal for mixing wax colors to get a lovely spiral of two or even three shades.
What you’ll need:
candle
match or lighter
heat safe surface for resting the melting spoon (a ceramic tile on a clutter free work space is just fine)
envelopes or other surface to pour the wax

STEPS
Step 1 - Choose your wax color and quantity. One package of 180 beads is usually enough to make 60 seals.
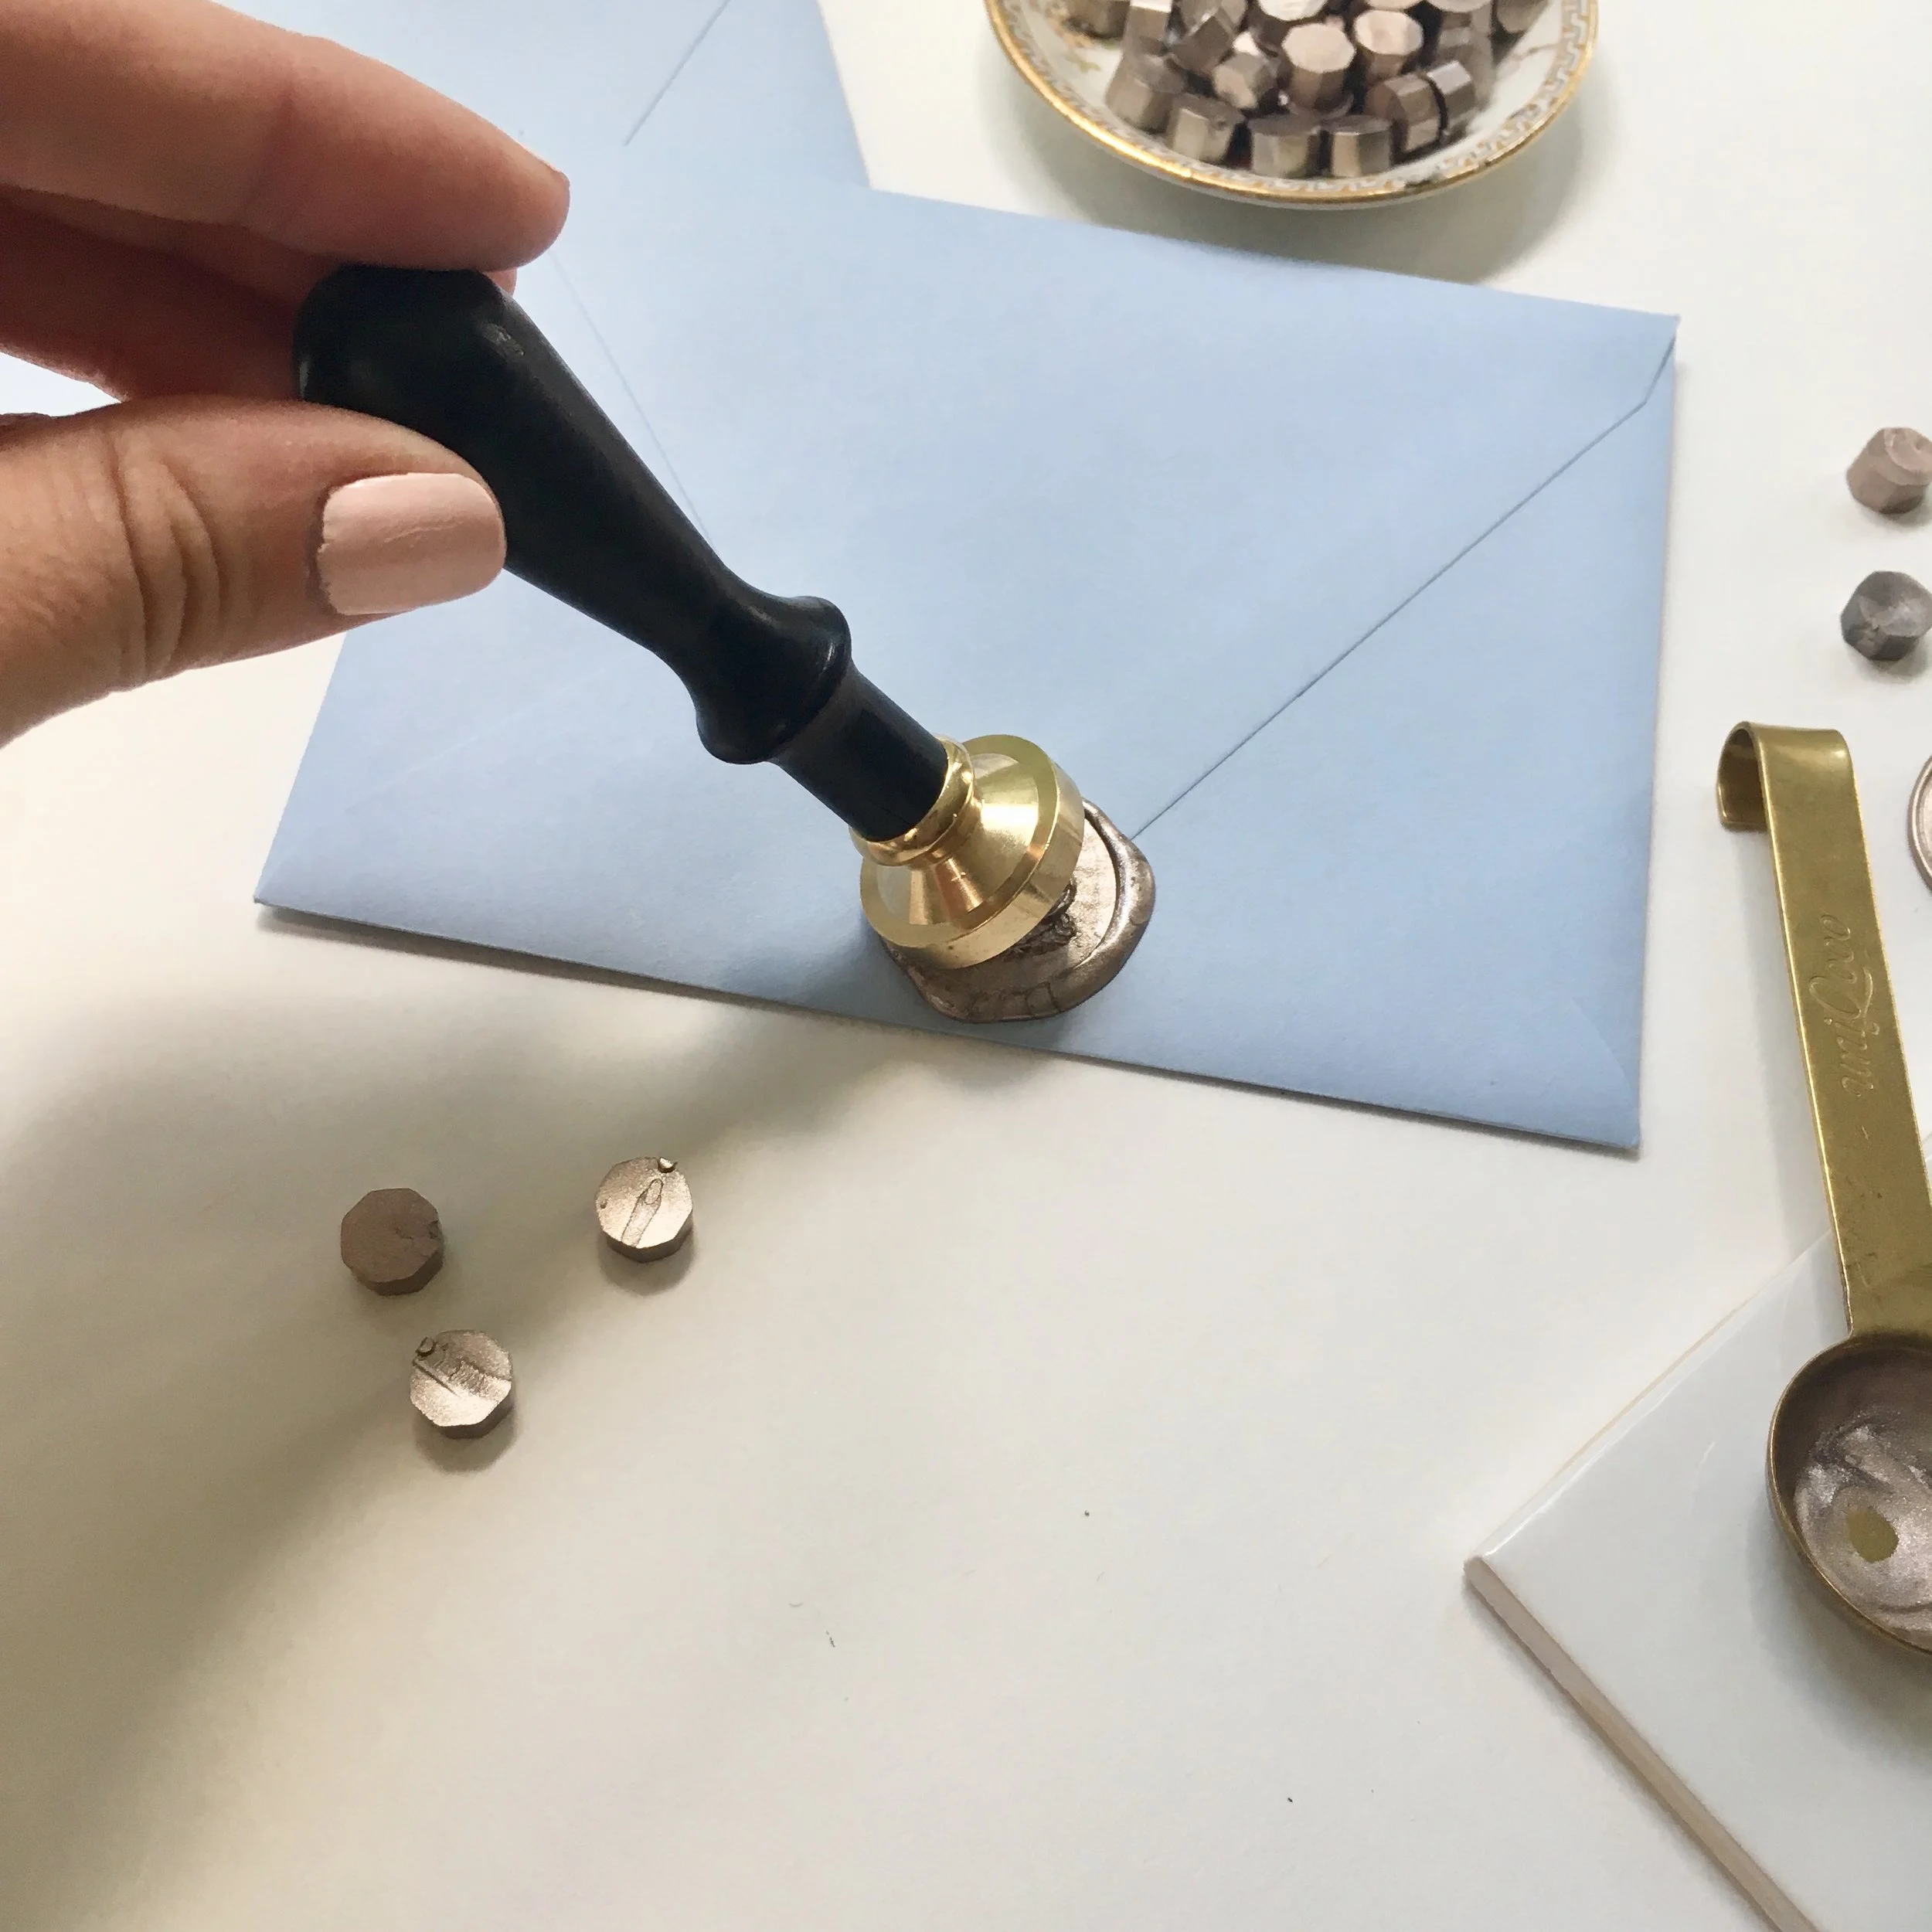
Step 2 - Place the candle on the heat safe surface. Add 2-3 wax beads to the melting spoon and carefully hold about an inch above the candle flame. Allow the wax to melt completely.
Step 3 - Once the wax has melted, pour over your envelope and place the seal in the center of the wax
Step 4 - Once wax has cooled, carefully remove the wax seal and you’re done!
Glue Gun Wax Seals
Glue gun wax seals are my go-to when I am assembling a large wedding suite. It is much quicker to use a glue gun and wax sticks to create seals because the wax heats quickly and is constantly primed with the next batch of wax.
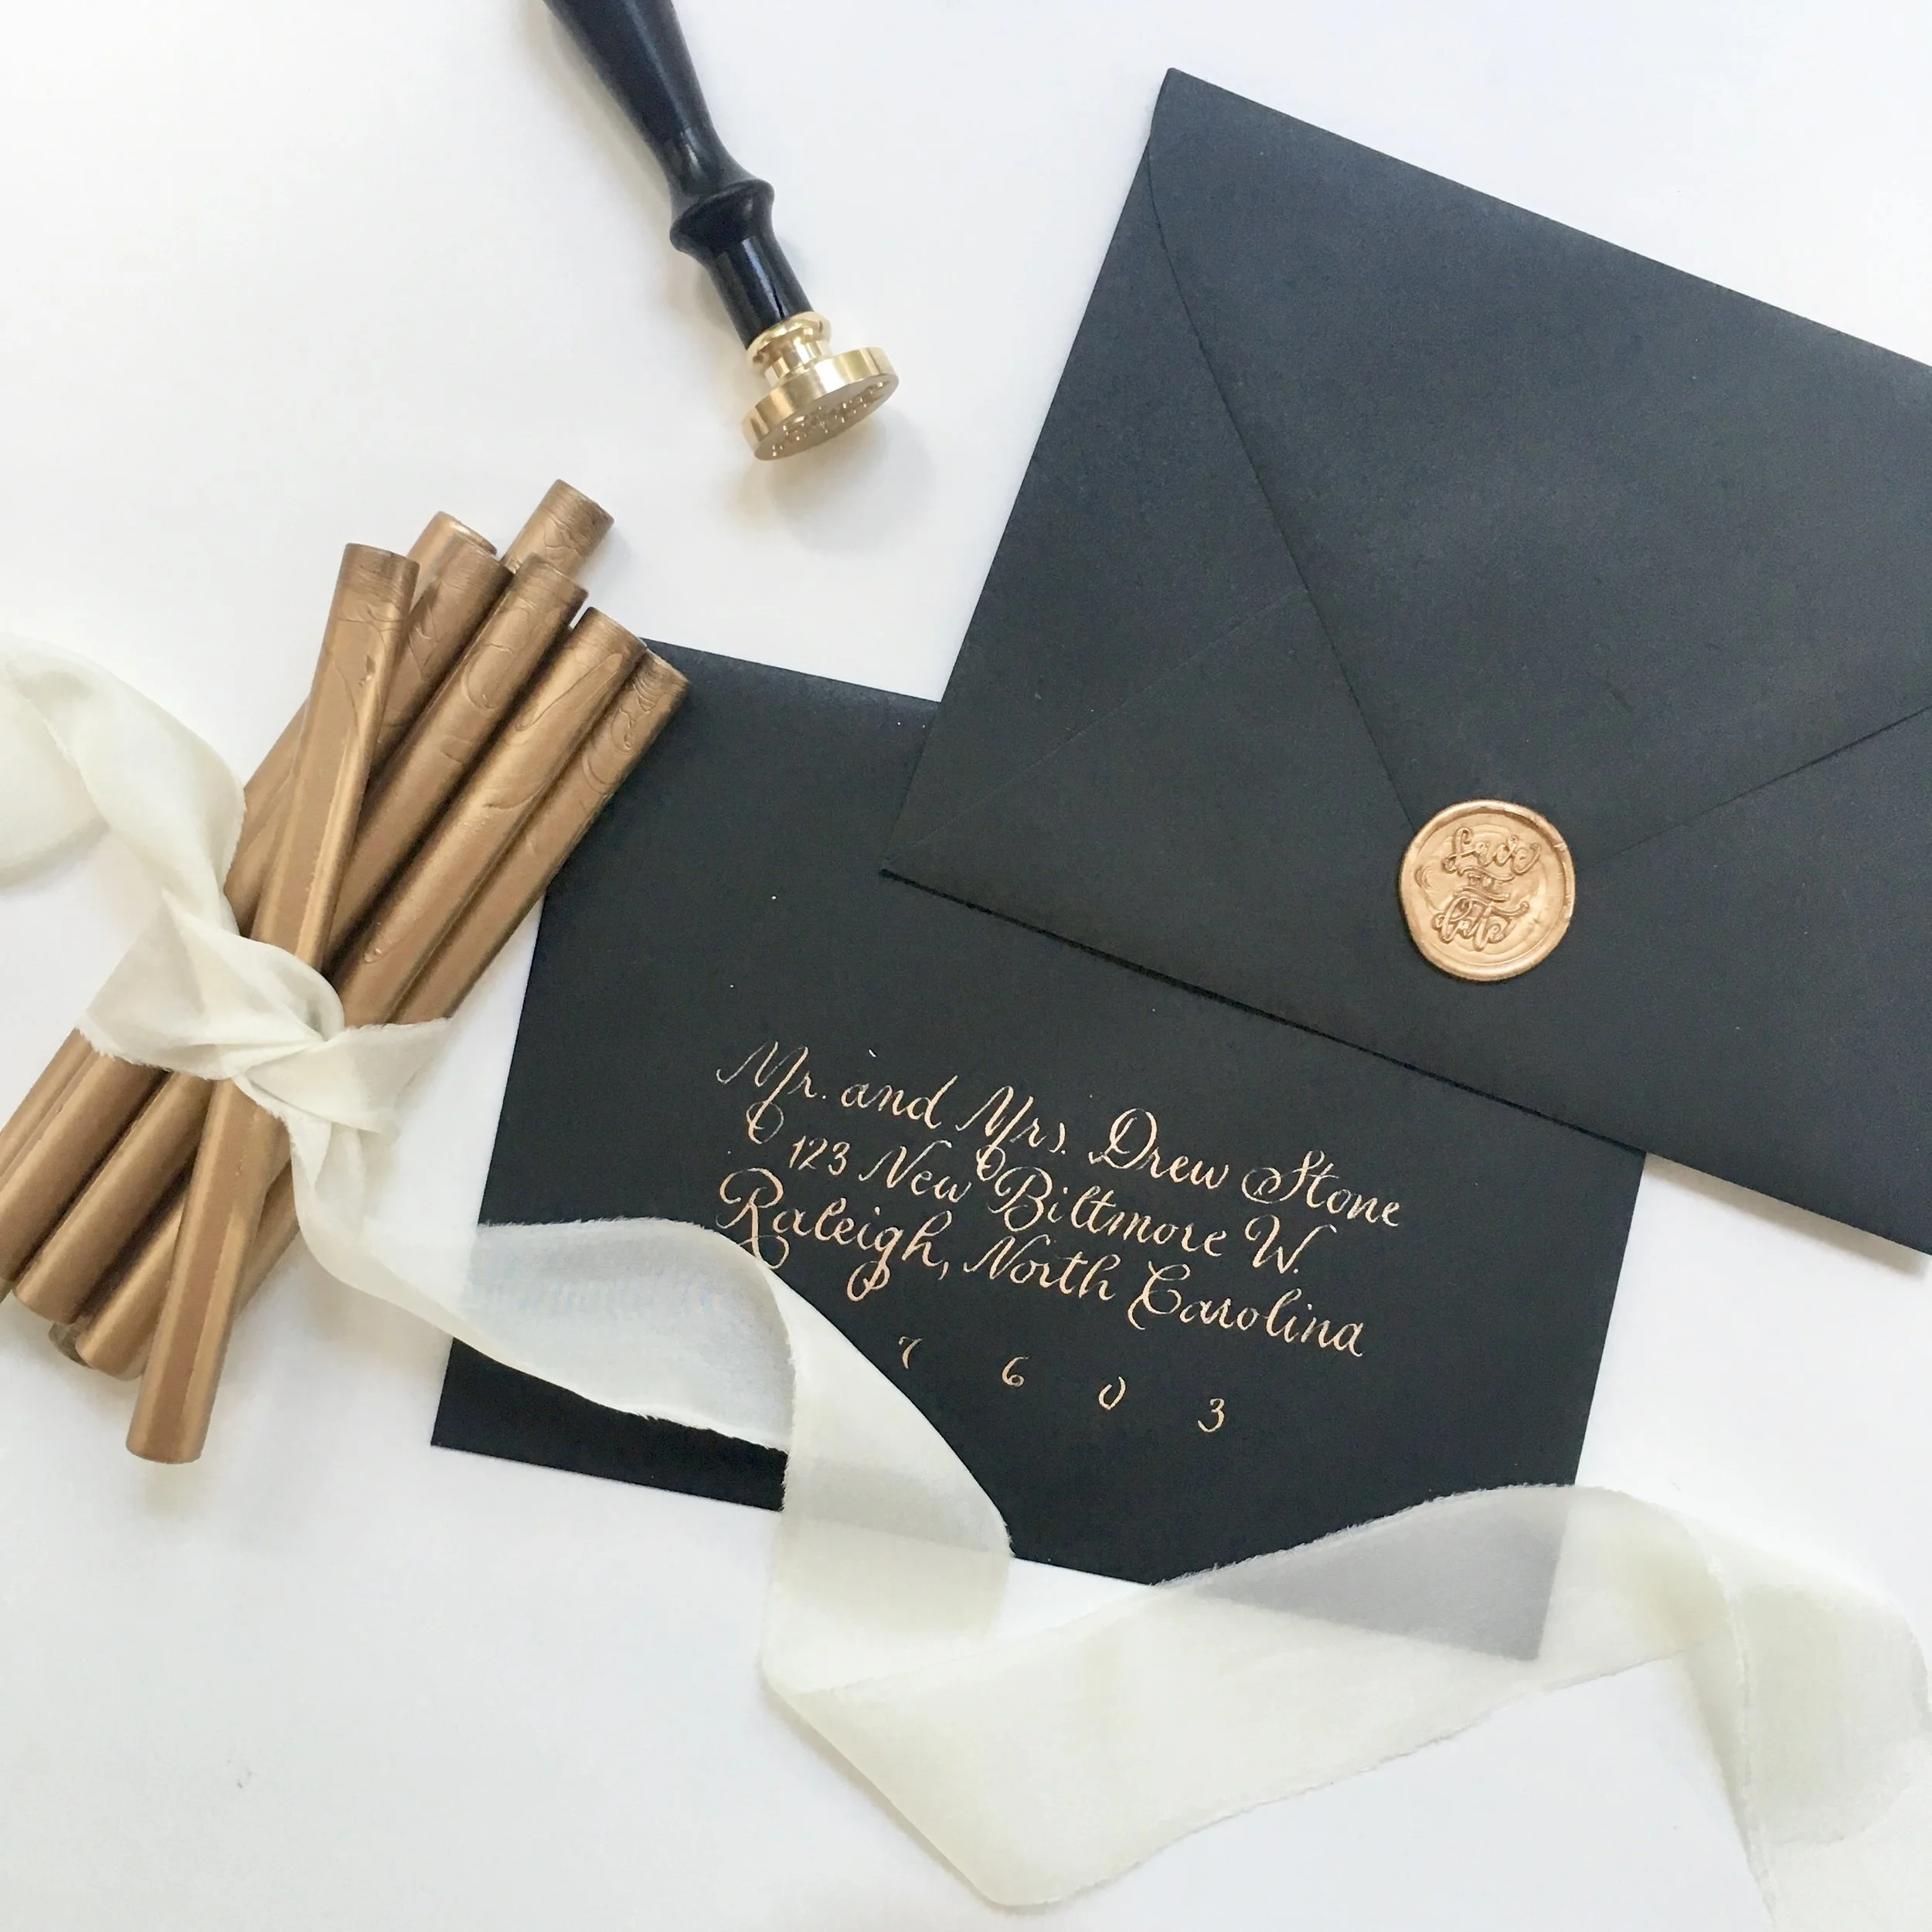
Pictured: Antique Gold Wax Sealing Sticks by Uniqooo and Save the Date Wax Seal Stamp by Uniqooo
What you’ll need:
glue gun (look for size 0.43” like this Elmer’s one - the craft glue gun is 0.27” and will not fit glue gun sealing wax)
heat safe surface for resting the glue gun (a ceramic tile on a clutter free work space is just fine)
envelopes or other surface to pour the wax

STEPS
Step 1 - Choose your wax color and quantity. One package of 8 sticks is usually enough to make 100-120 seals.
Step 2 - insert the first wax stick into the glue gun and allow to initially heat up. Rest the glue gun in the upright standing position over the heat safe surface. Some wax may drip a bit.
Step 3 - Once the glue gun is ready, squeeze a quarter size amount onto your envelope and place the seal in the center of the wax
Step 4 - Once wax has cooled, carefully remove the wax seal and you’re done!
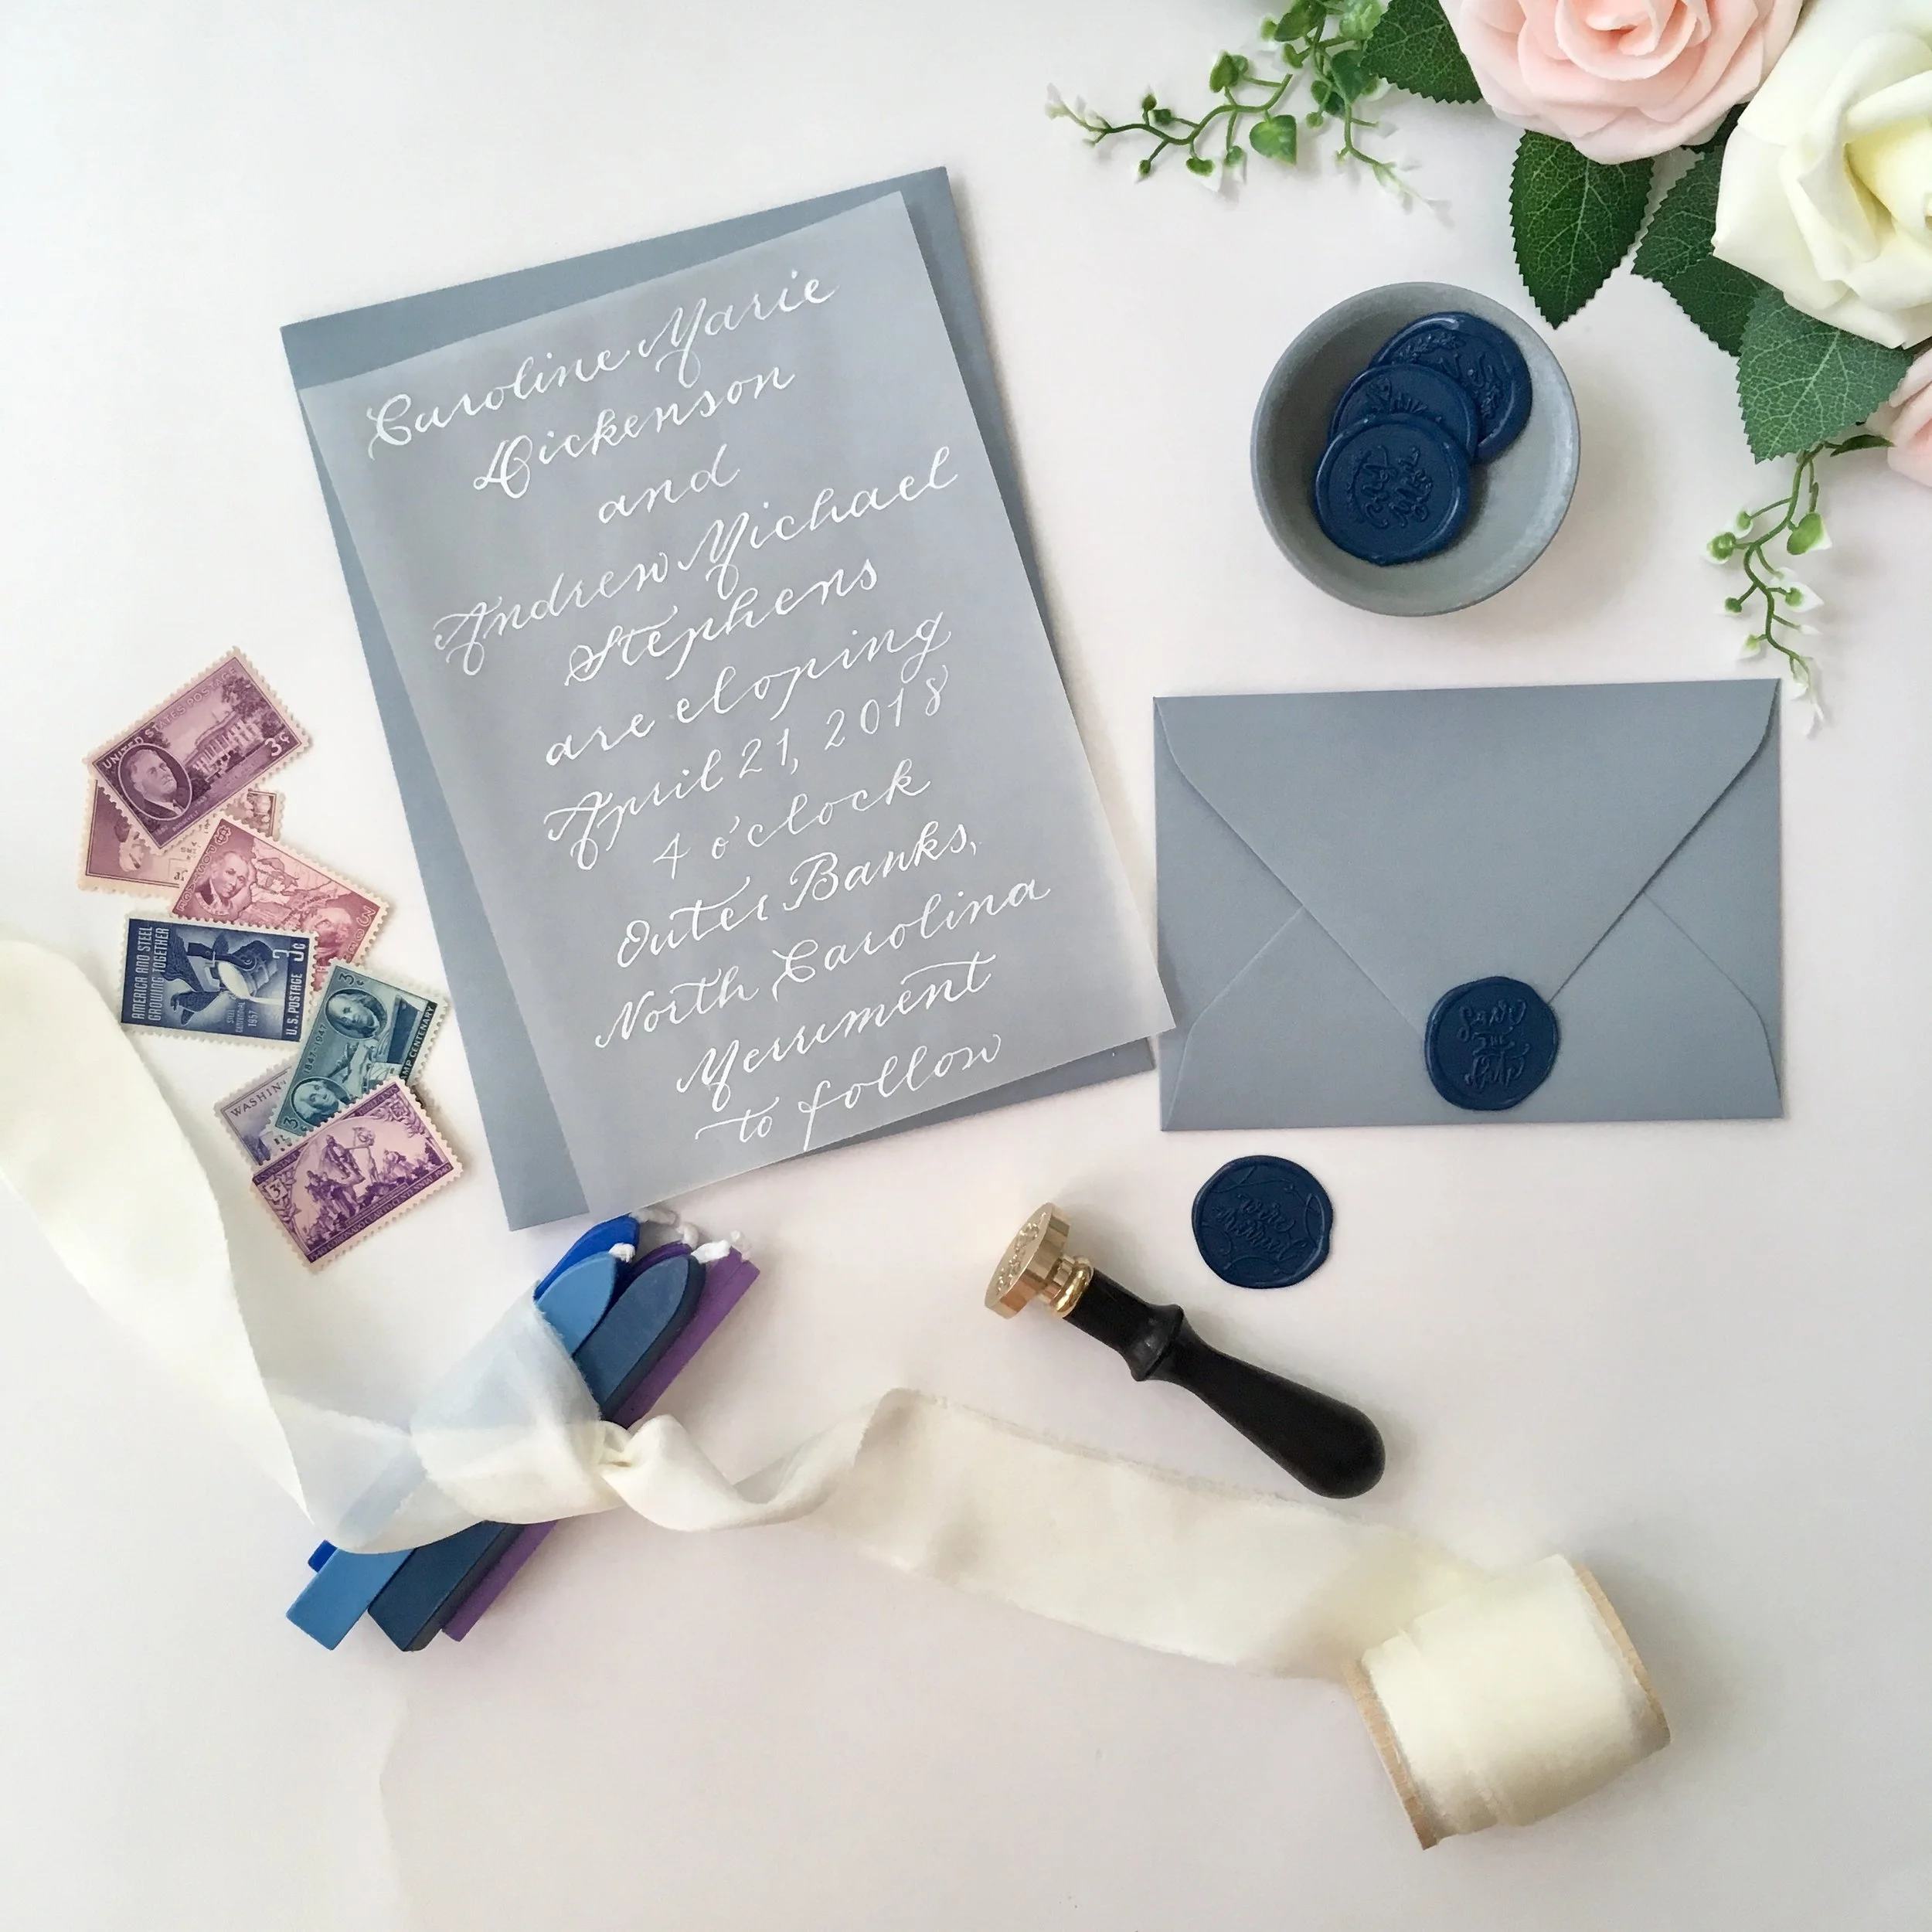
Pictured: Wicked Wax Sticks in Blue/Purple shades by Uniqooo and We’re Married Wax Seal Stamp by Uniqooo
Wicked Wax Sticks
Wicked wax sticks are ideal if you only need to make just 1-2 seals. With the wicked wax sticks, there’s no need to pull out the glue gun or melting spoon! If I’m sealing a single thank you card for a client or just need a single seal for a quick Instagram photo, I’ll often use the wicked wax sticks as setup and use is a bit quicker for one-off projects.
What you’ll need:
match or lighter
heat safe surface for resting the match or wax stick (a ceramic tile on a clutter free work space is just fine)
envelopes or other surface to pour the wax
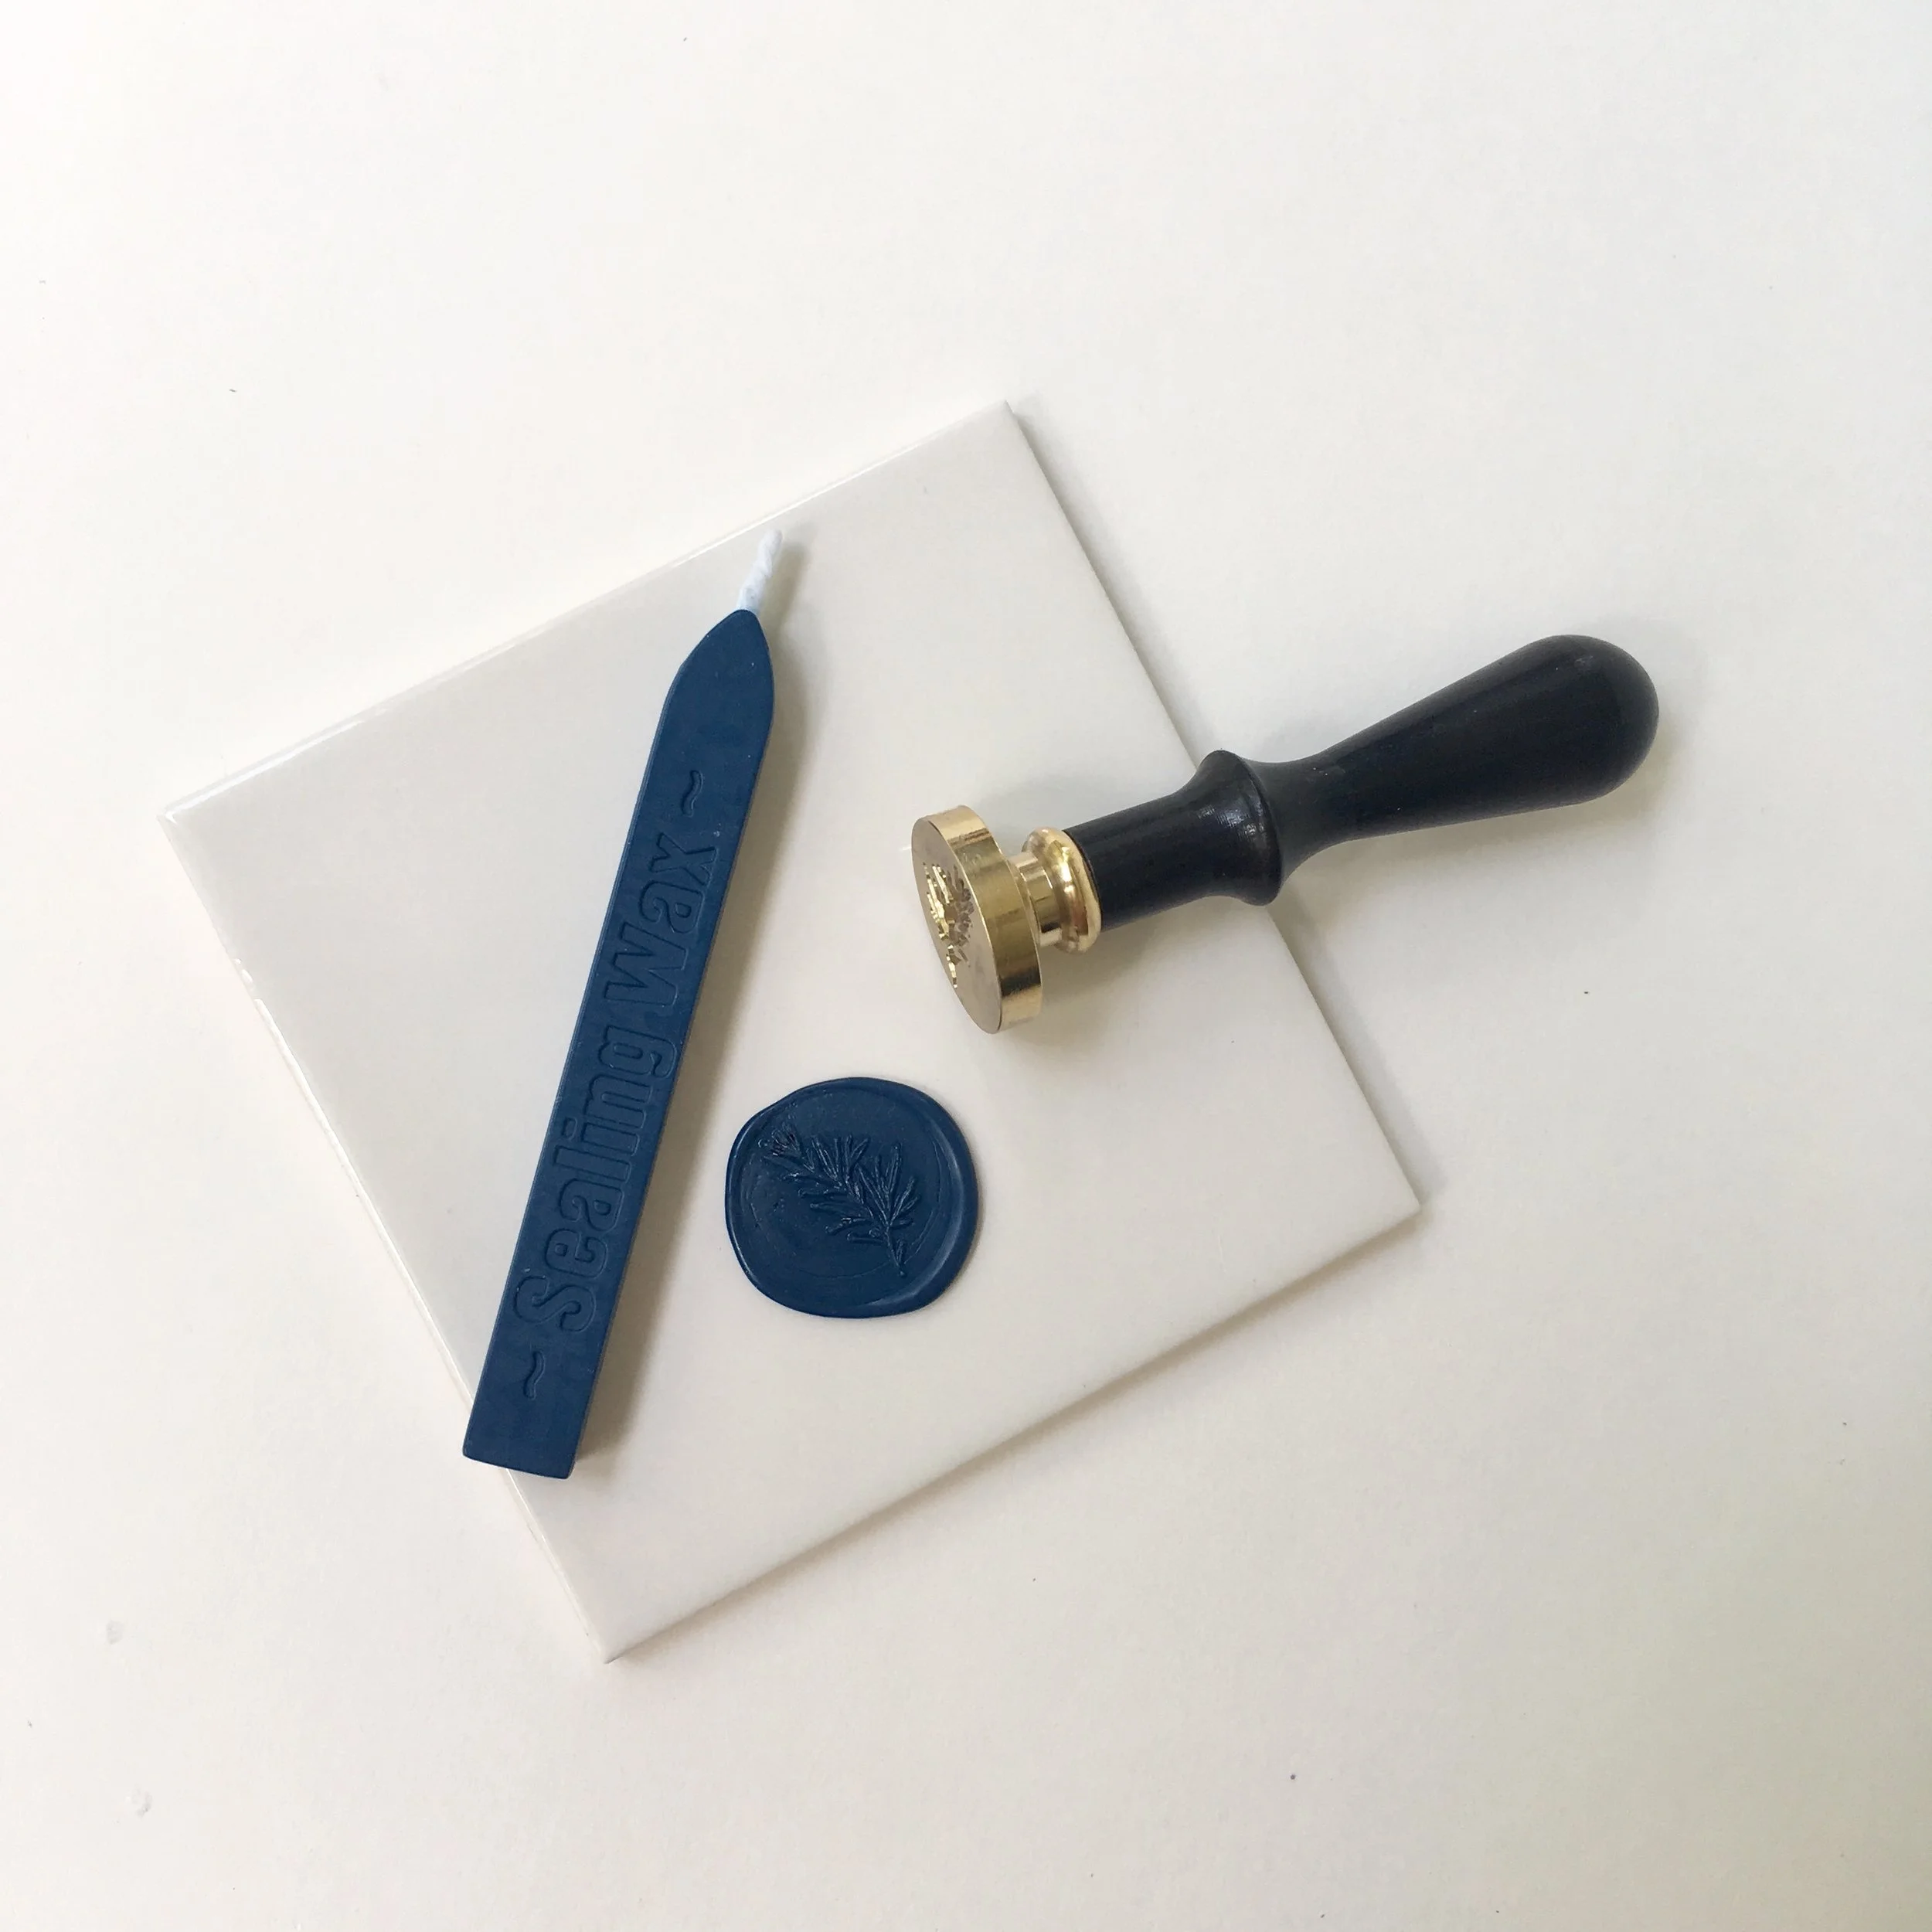
STEPS
Step 1 - Choose your wax color and quantity. One wicked wax stick is usually enough to make 7-10 seals.
Step 2 - Light the wax stick and carefully hold it horizontally over your envelope. Allow the wax to drip onto the flap until you have about a quarter sized puddle of melted wax.
Step 3 - Place the seal in the center of the wax. The first wax drips may have cooled slightly while waiting for the final wax drips. Just firmly push the seal into the wax to ensure you get an impression.
Step 4 - Once wax has cooled, carefully remove the wax seal and you’re done!
That wasn’t so hard! Now that your wax seals are finished it looks like you’re ready to pop your gorgeous invitations in the mail! Which of course will soon be brightening the day of each of your loved ones.