Easy Watercolor Nursery Sign
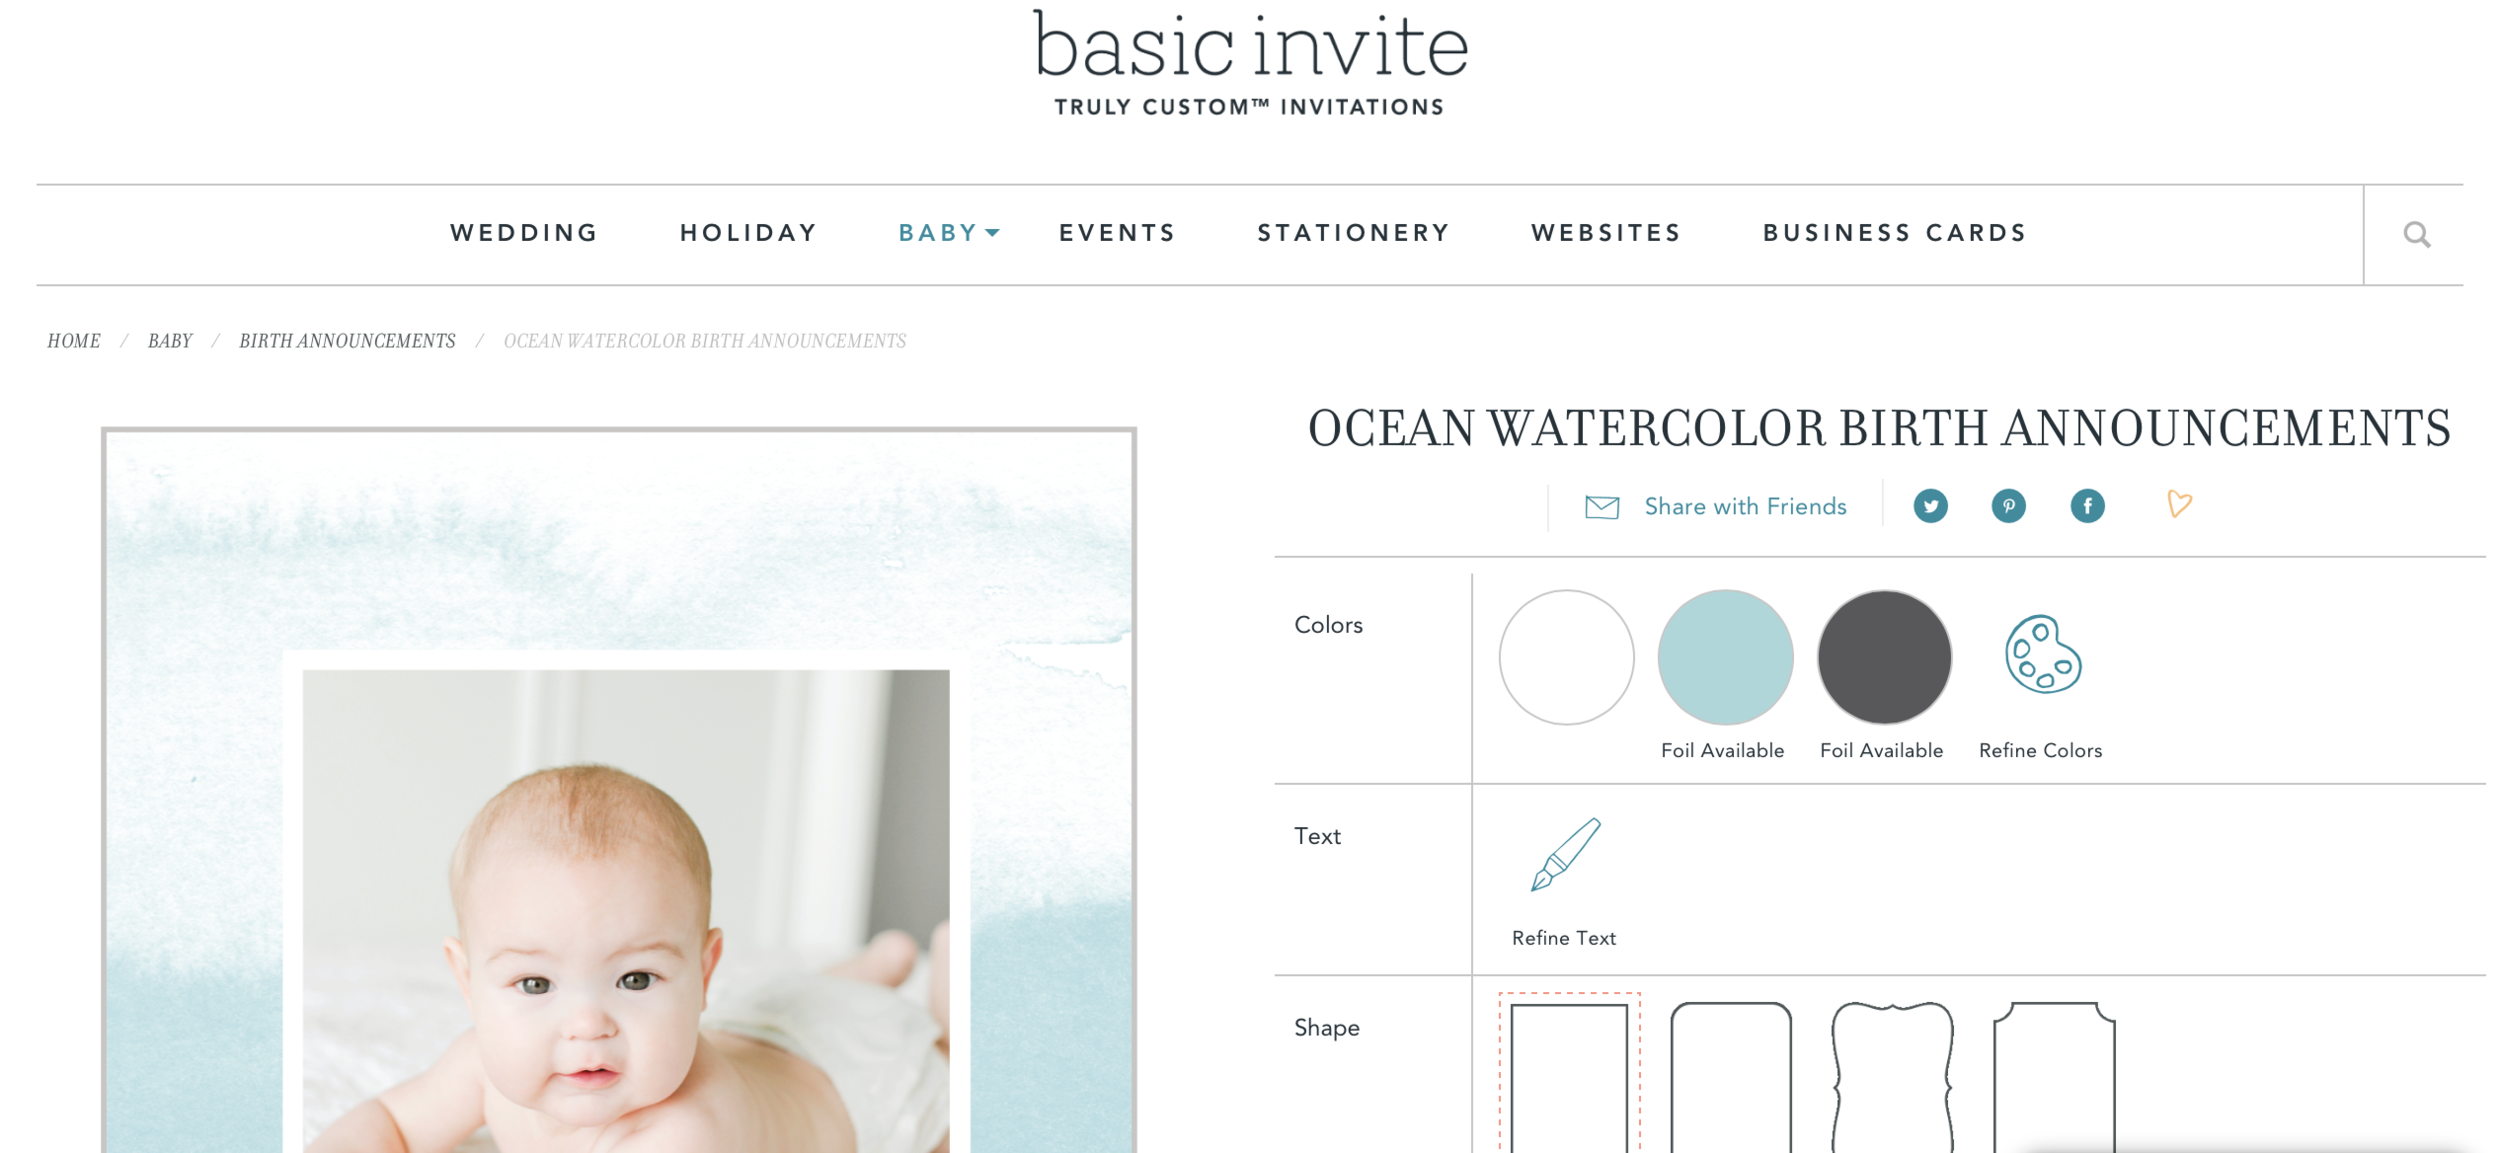
I’m so excited to share this tutorial on how to create a nursery sign in collaboration with Basic Invite, a fellow invitation company with a card for almost every major life moment including weddings, showers, baby photo announcements, birthdays, graduations and more. All opinions are my own.


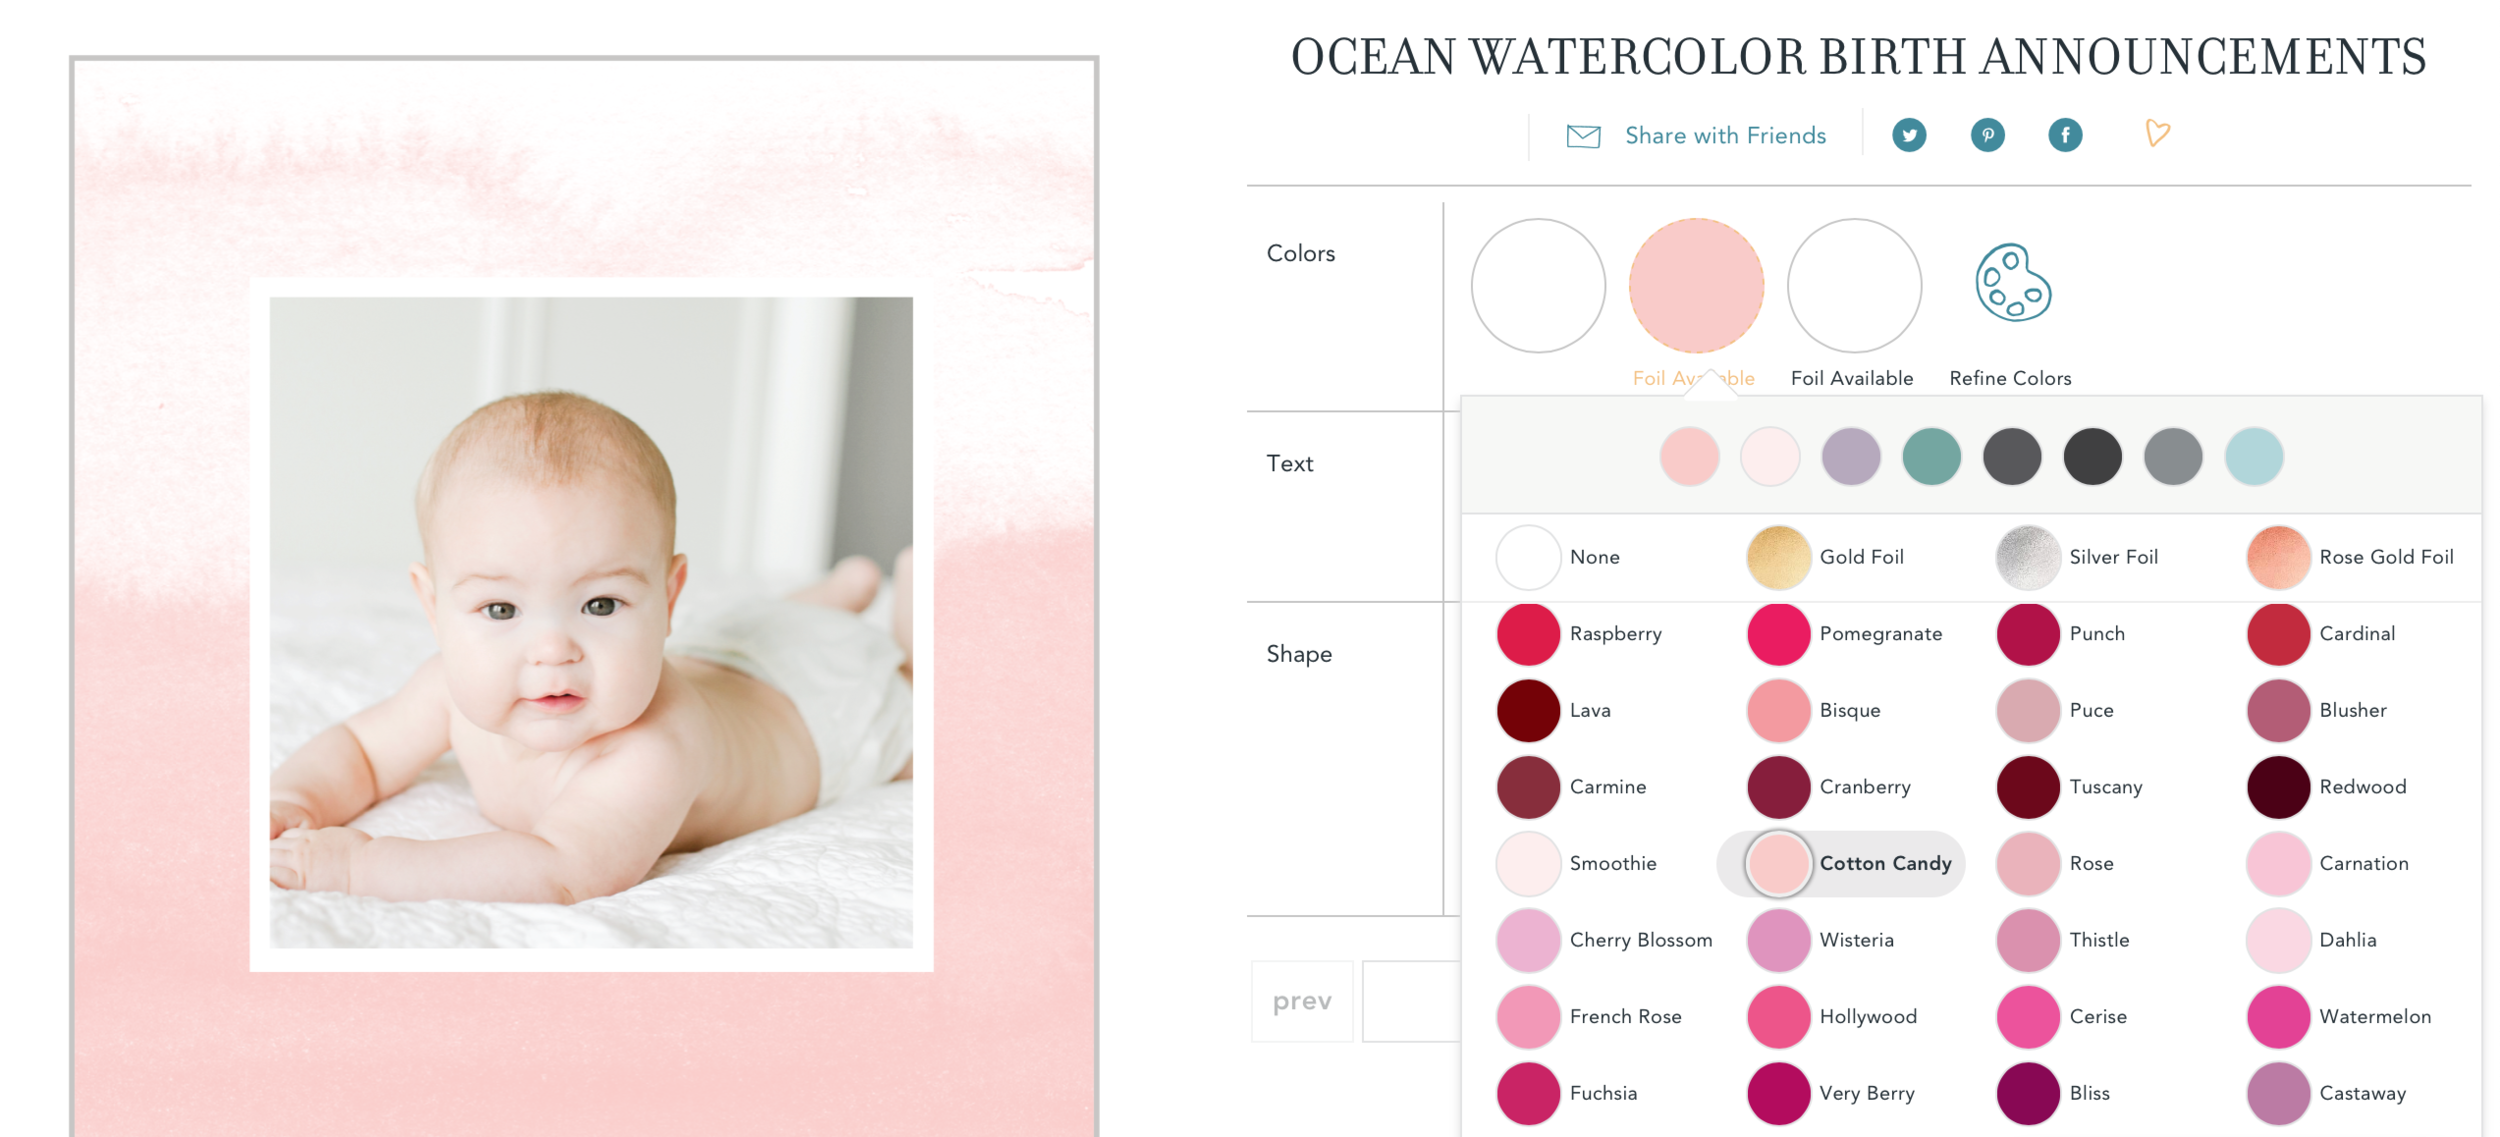
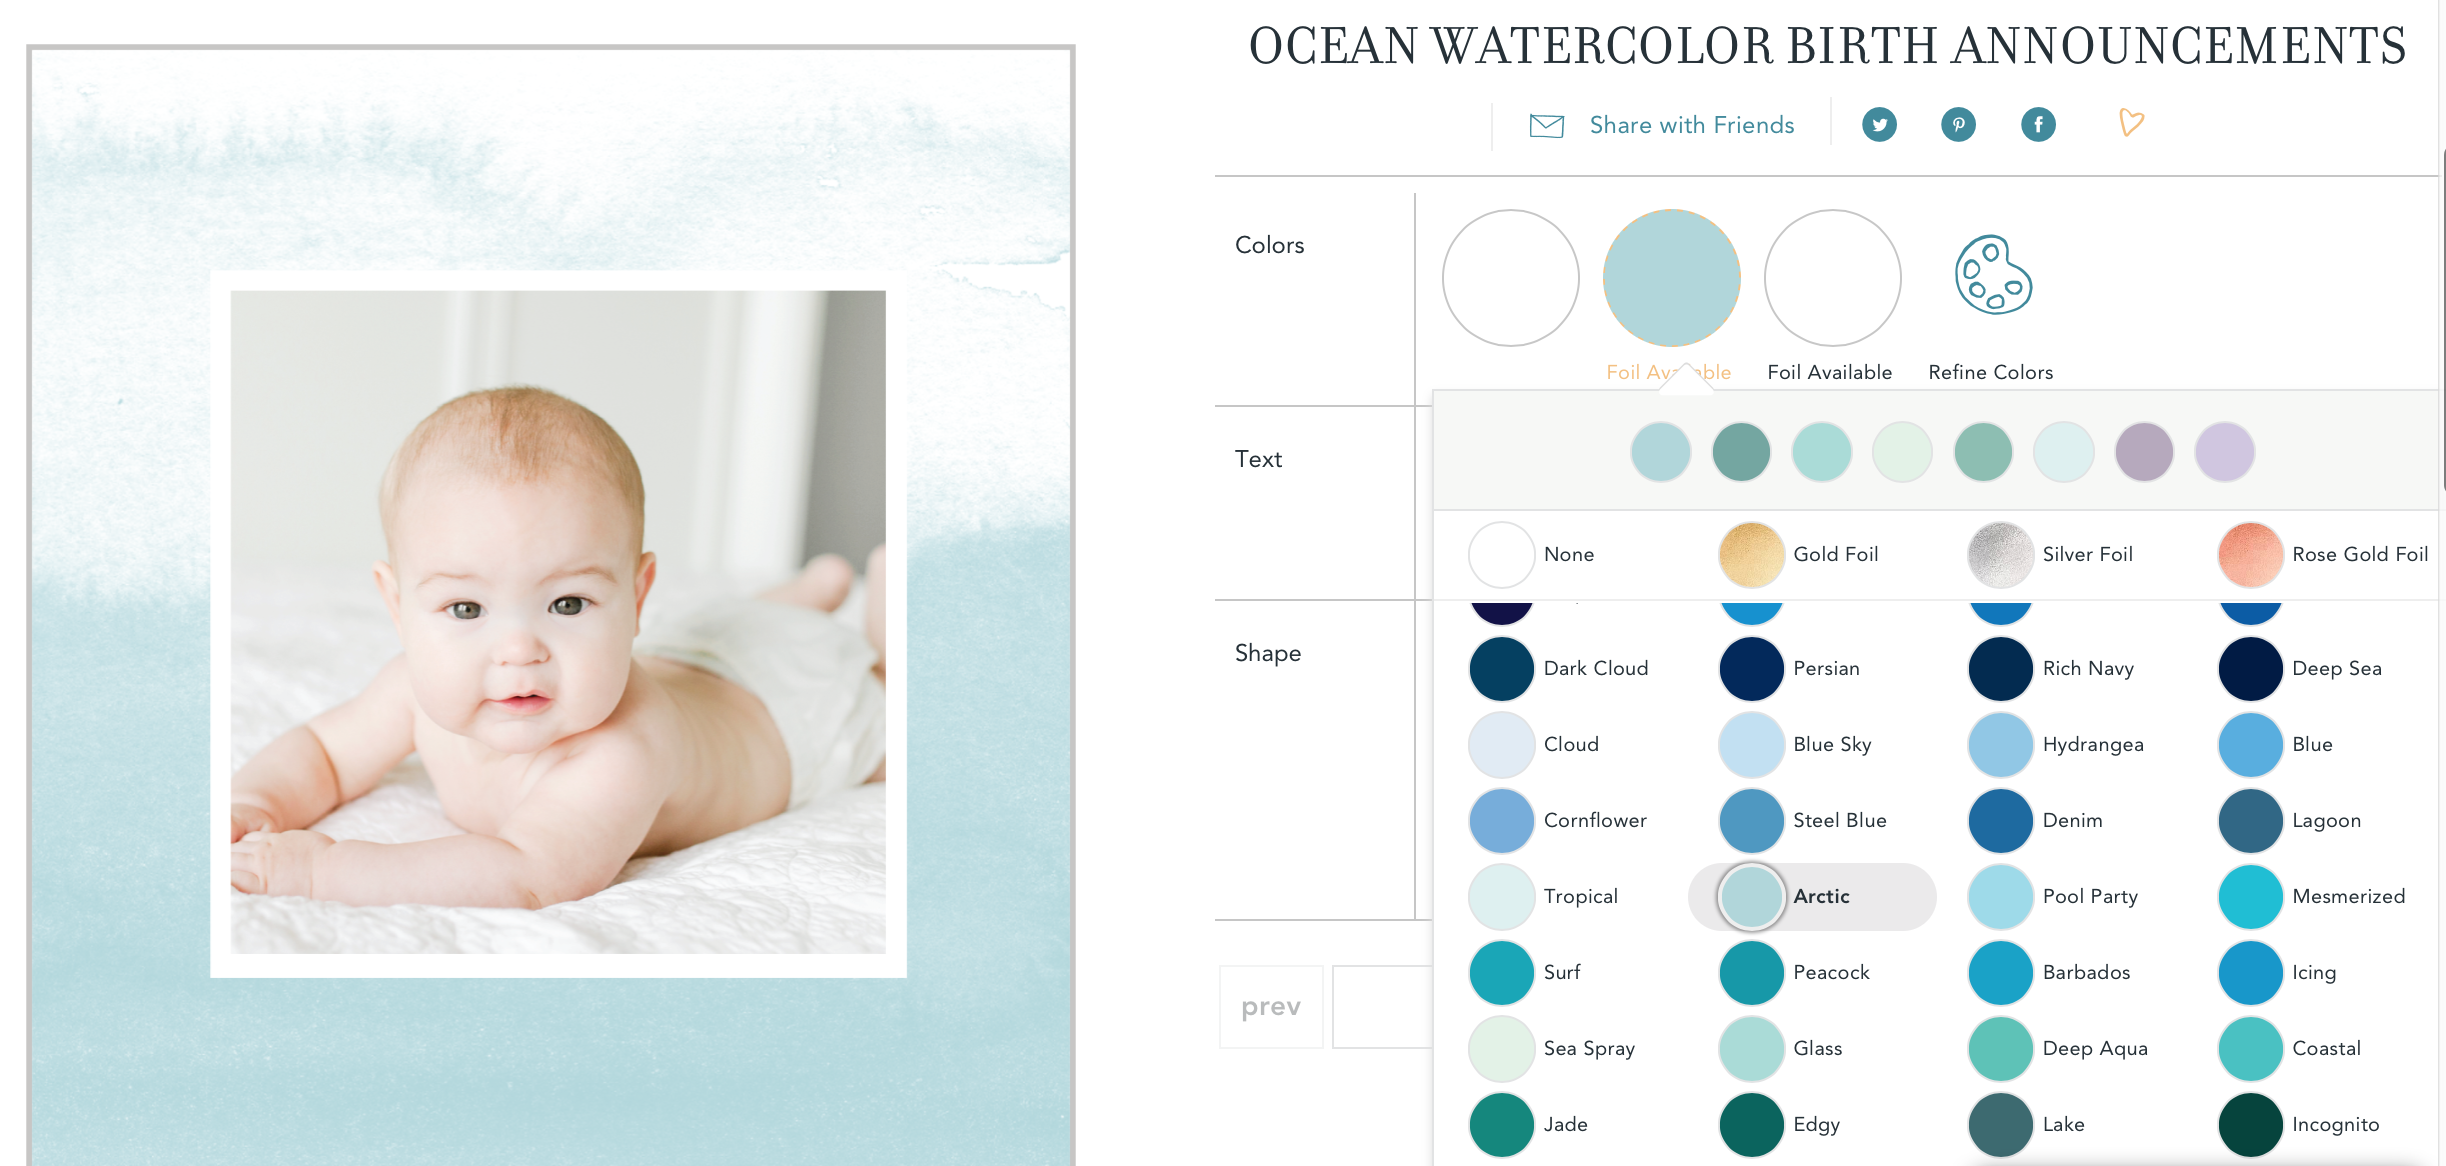
Pictured: online birth announcement by Basic Invite
DIY Project: Easy Watercolor on Canvas Nursery Sign
Psst! Pin this NOW and save for later!
If you’re like me, everything in the nursery had to match an overarching color scheme. When we turned my then office into the second nursery, the walls were already a soft green. And since the nursery was going to be for a little baby girl, we decided we wanted hints of pink. There we had it: pale green, soft pink and white.
Luckily, after a few months of rearranging furniture and a ton of DIY projects later, it all came together. I made a pastel floral mobile. I painted a large mirror and a handful of up cycled frames white. And then I made a nursery sign with a subtle pink watercolor background and voila!
Making a watercolor baby name sign come to life on a canvas is an easy way to add a statement piece to your nursery walls. AND if you want to match your custom baby announcement to your color theme, you can with Basic Invite. The site has over 180 colors to choose from and their Ocean Watercolor Birth Announcements are the perfect complement to your new name sign, especially if you plan on framing and hanging one of the announcements in the nursery… Because. It. Will. Match. Perfectly. Hallelujah!
Here's what you'll need:
Large canvas
Watercolor paint set and brushes
Sharpies or other permanent markers
Water jar and paper towels/cloth
Hammer and nails
Here's how:

Gather
Gather your supplies at your workspace. I used a stretched canvas (aka on wooden frame) that was 24x12 inches. The watercolor paints are a beginner set of 36 colors that you can find at any craft store or online.

Add Water
Wet the canvas using a wide brush. You want the canvas to be damp but not sopping. A wet canvas will allow the watercolor pigments to flow and dance across the canvas surface, achieving the signature watercolor look.

Paint
Add the watercolor paint to a wet brush and apply to the canvas as desired. Try to get a lot of pigment on the brush. You can also tip the canvas to let the water carry the paint around the surface. If the paint is lighter than you wanted it to be after it dries, you can go back in and add a second layer. Once you’re satisfied with the background, let the paint fully dry before attempting to write on the canvas.
I used this soft pink color and it matched perfectly to the “Cotton Candy” color in the customization drop down menu on the Basic Invite site. How awesome is that?

Design
While your canvas dries, practice your design. Write your message on paper first to get a feel for the layout. Be sure to use enough paper to match the size of the canvas you want to write on. Here I taped two pieces of standard copy paper together until it matched the width of the canvas.

Hand Lettering Tip
Want your baby’s name to look like it’s written in {faux} calligraphy? Just darken the downstrokes by adding a little extra width to anywhere you would pull the pen “down” the paper. It’s an easy peasy way to create the hand lettering look.

Test & Write
Canvas takes marker differently than paper. DON’T use washable markers or your design will wipe off leaving behind a messy stain. If you have a lot of markers and aren’t sure which would be the best option, flip the canvas over so you can easily test your markers along the stapled edge. I like using regular Sharpies. Oil based Sharpies also work but tend to dry out quickly on the canvas surface.
Now you’re ready to write your baby’s name on the front of the canvas using the practice sheet as a nearby visual guide.

Done!
Now you’re ready to hang your sweet new sign. Find the perfect spot… nail it… hang it… and you’re done! Congrats, your nursery just got a little cuter!
And of course, congrats on your even cuter baby bundle!
By the way…
Right now Basic Invite is offering 15% off with coupon code: 15FF51
If you make this project we'd LOVE to see! Leave a picture in the comments or tag pictures on Instagram and Facebook with @BasicInvite and @RaleighCalligraphy. And as always, feel free to Pin away! (Psst! Are you a blogger? Check out our FAQs here before reposting on your blog.)